
Last updated November 15, 2026
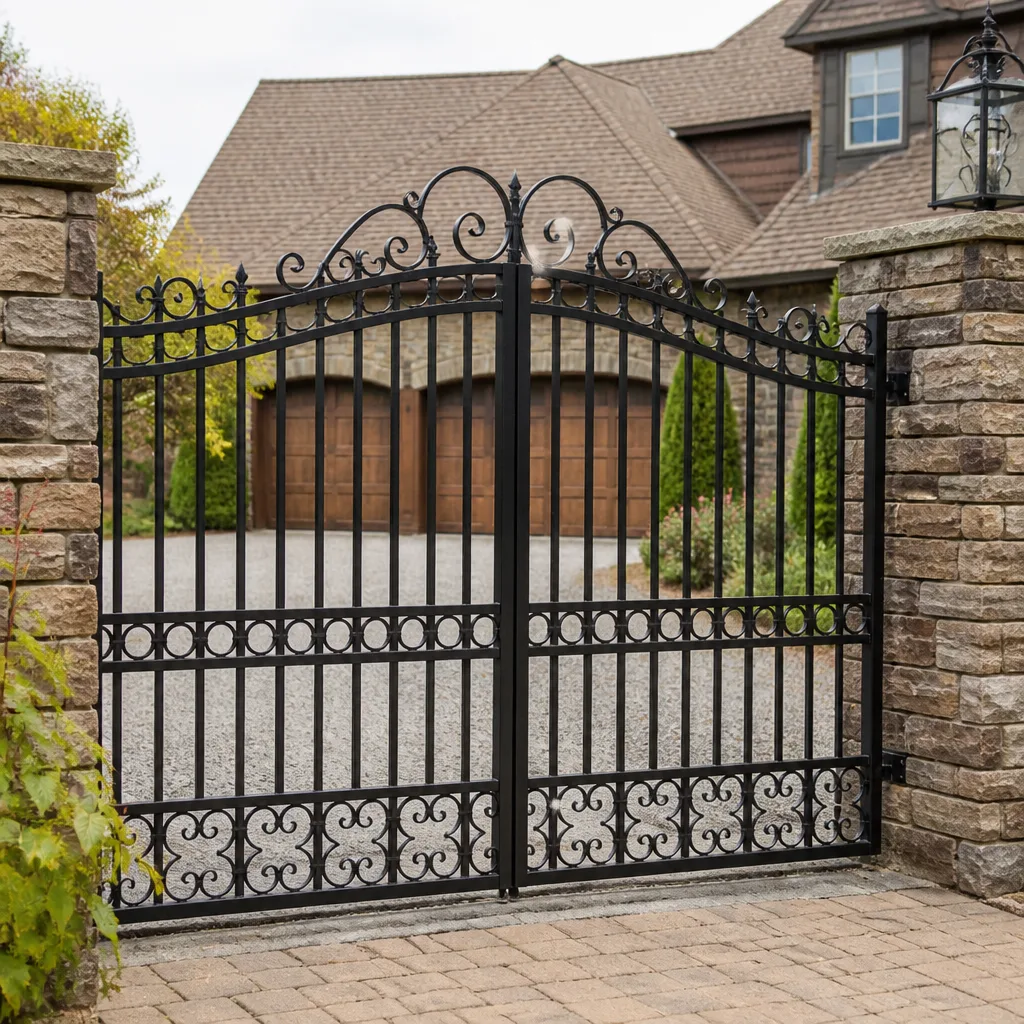 Wrought iron
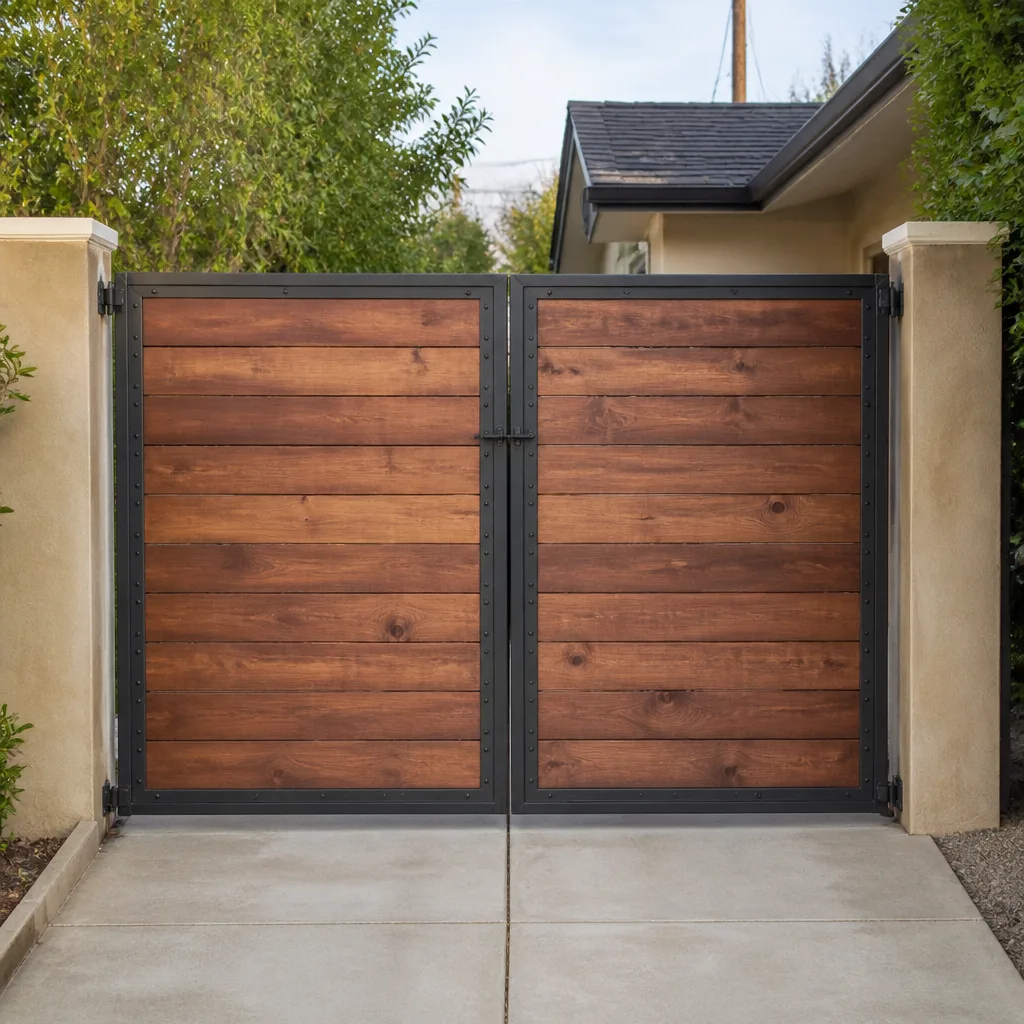 Wood & steel frame
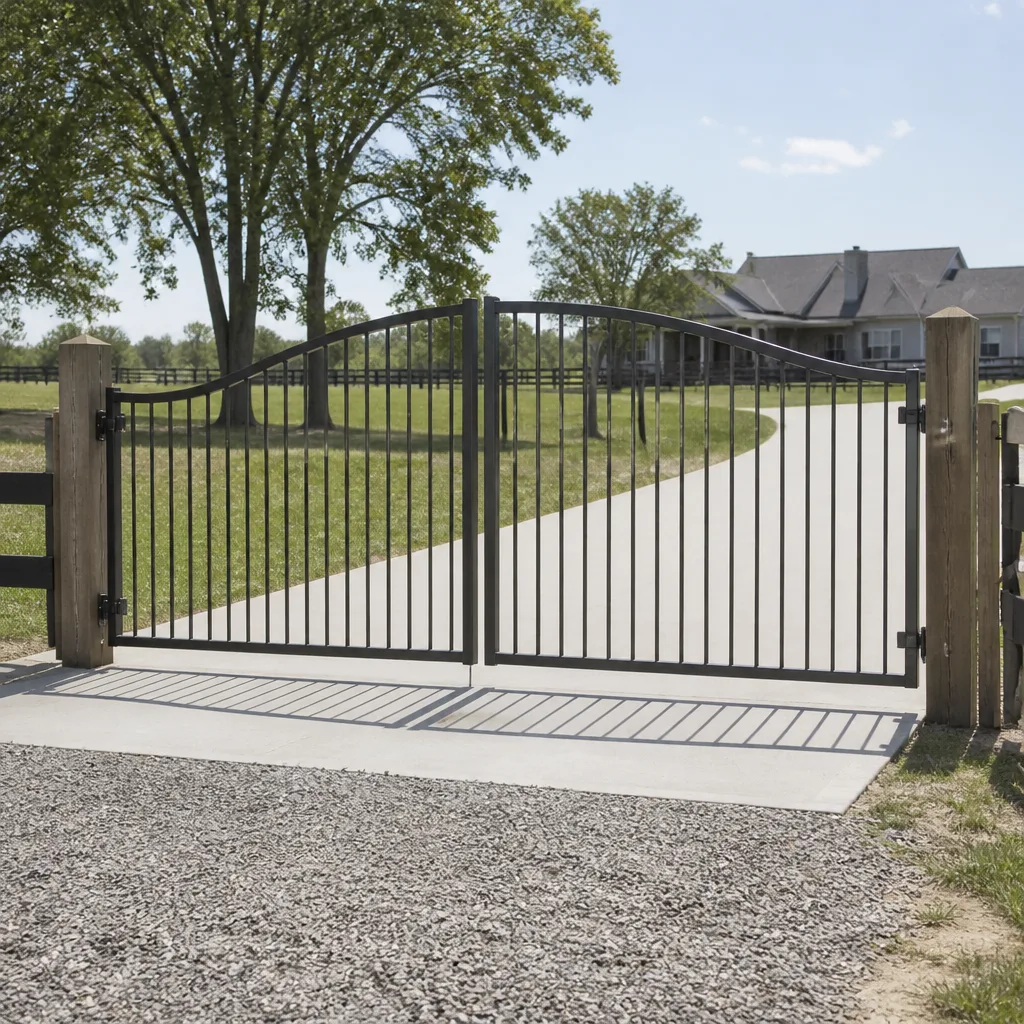 Farm & ranch
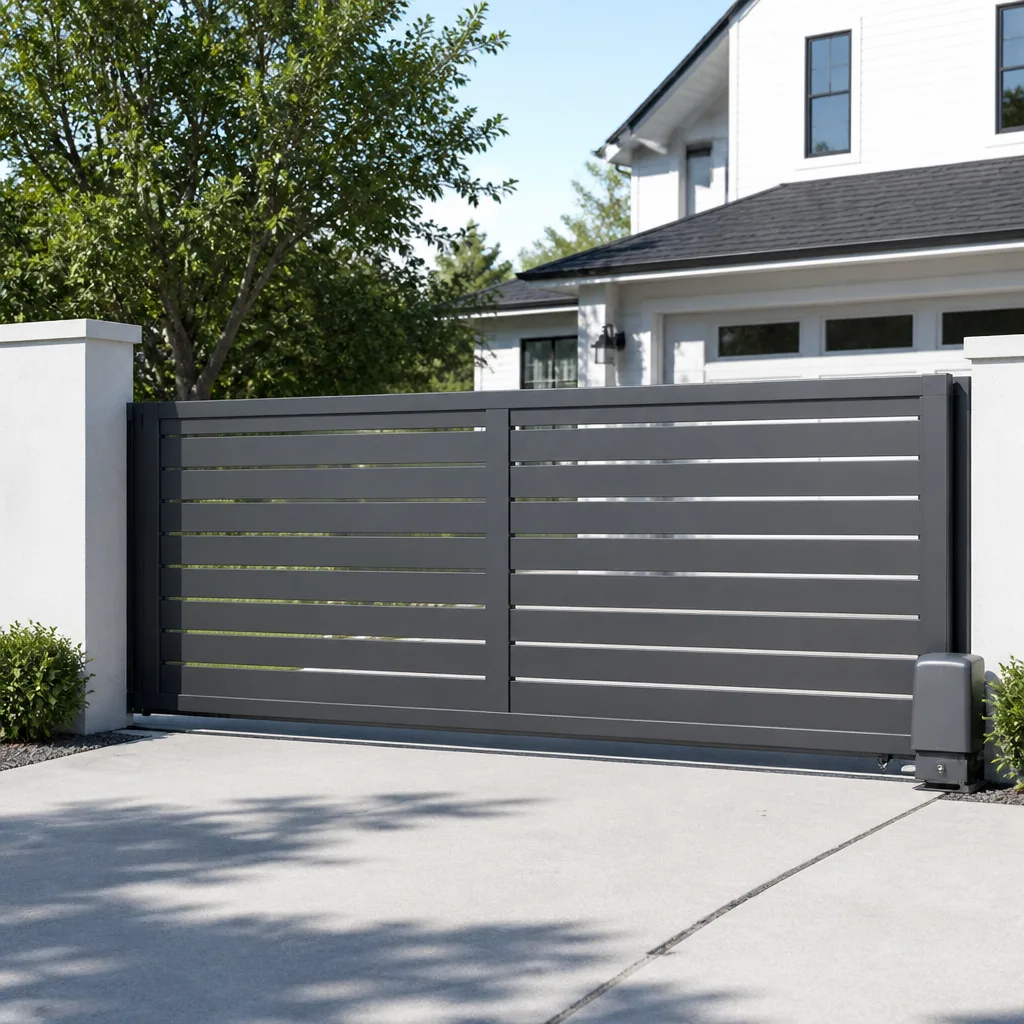 Sliding driveway gates
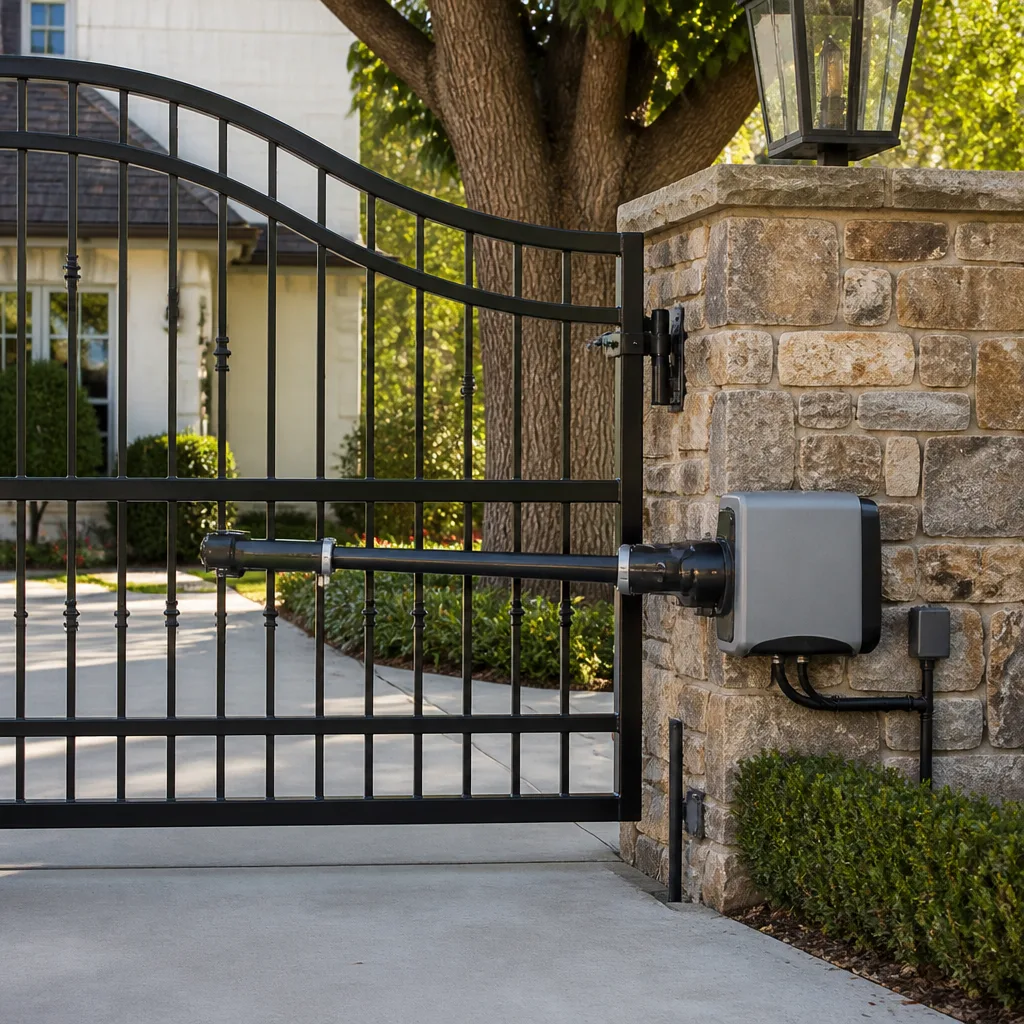 LiftMaster operators
Free on-site gate assessment - hinges, posts, and your LiftMaster or Nice gate operator checked before anything is quoted
The assessment is free and the quote is the invoice.
Get your free estimateDIY vs Professional Gate Repair: The Peoria Homeowner’s Decision Guide
Replacing a gate hinge yourself is a reasonable project for a free afternoon. Adjusting a limit switch yourself is also reasonable, if you know that’s what’s wrong. The trouble starts when a homeowner assumes the problem is a limit switch, orders the part, waits for it to arrive, installs it, and only then discovers the real fault was a failing motor capacitor. By that point, two wrong parts and a weekend later, the repair costs more than a specialist’s visit would have from the start. That’s the trap this guide is built to help you avoid.
The real question in DIY vs professional gate repair in Peoria isn’t about your skill level. It’s about correctly identifying which of three failure categories you’re facing: structural, mechanical, or electrical. Each carries a different risk profile, a different parts cost, and a different consequence when you get it wrong. We’ll map out what’s genuinely DIY-viable, where DIY attempts tend to fall apart, and how Peoria’s climate and safety code shift the odds.
Quick Answer
Some gate repairs are safe and sensible for a homeowner to handle: tightening hinges, cleaning and realigning photo eyes, clearing debris from a track, and swapping a battery backup. Most electrical faults, anything involving the motor, control board, safety sensors’ timing, or heavy panel alignment, should go to a specialist. The dividing line is whether the repair affects entrapment safety. If it does, a trained technician should handle and test it, because a gate that fails to reverse on contact is a genuine hazard to anyone in its path.
Styles & brands we work with
- Wrought iron
- Wood & steel frame
- Farm & ranch
- Sliding driveway gates
- LiftMaster operators
Table of Contents
- The Three Failure Categories of a Gate System
- Genuinely DIY-Viable Repairs (and What Each Involves)
- Where DIY Attempts Most Often Go Wrong
- UL 325 Entrapment Protection: Why Some Repairs Need a Technician
- How Peoria Heat Changes the DIY Repair Window
- Warranty and Insurance: What DIY Repairs Can Cost You Down the Line
- Why Brand Matters: Ghost Controls, DoorKing, Mighty Mule, and More
- When to Call a Professional
The Three Failure Categories of a Gate System
Every gate problem falls into one of three buckets. Sorting the problem into the right bucket before you touch anything is the single most useful thing you can do. Get the category right and the repair (DIY or professional) is usually straightforward. Get it wrong and you spend money on parts you don’t need.
1. Structural Failures
Structural problems involve the gate itself: sagging hinges, twisted frames, broken welds, drooping posts, or panels that no longer sit square in the opening. These are visible on inspection. You can usually see where the sag is coming from by watching the gate move through its arc. Structural repairs range from tightening a hinge bolt (genuinely DIY-viable) to re-welding a frame or resetting a post in its footing (a job for a technician with a truck and proper tools).
2. Mechanical Failures
Mechanical faults live in the moving parts between the gate and its opener: rollers, tracks, chains, drive arms, and the gate’s own hardware. A roller that’s worn flat, a track with a bend in it, or a chain that’s jumped its sprocket all show up as rough movement, grinding, or the gate stalling partway through a cycle. Some mechanical issues (debris in a track, a loose roller) are reasonable DIY territory. Anything requiring you to lift or support the panel itself is not.
3. Electrical and Electronic Failures
This is the category that catches people. Electrical faults include motors that hum but don’t move, control boards that won’t accept a remote, photo eyes that won’t align, loop detectors that false-trigger, and intercom or keypad integrations that drop out. These are the failures that look like a simple fix and almost never are. A failing capacitor, a bad transformer, a loose ground, or a board with a burned relay can all present as “the gate just stopped.” Without a multimeter and the ability to read fault codes, you’re guessing. And guessing means part-swapping, which is how a $200 repair becomes a $500 repair with two wrong parts in the trash.
The good news: gate repair of every category is what we handle. Whether your opener is a LiftMaster, a FAAC, or a Mighty Mule, the diagnostic path is the same. Sorting your gate into the right bucket is the whole game, which is exactly what our gate repair work starts with.
Genuinely DIY-Viable Repairs (and What Each Involves)
We’re not going to pretend a homeowner can’t handle a thing. Four repairs on a Peoria gate are genuinely reasonable to attempt yourself, assuming you have the right tools and you know what you’re looking at. Here’s the honest shortlist.
Hinge Tightening
A hinge that’s working loose shows up as a gate that binds or drags on one side. If it’s a bolt-on hinge, a socket set and five minutes will usually solve it. Watch the gate as it swings after you tighten; if it still binds, the problem is deeper than a loose bolt and you’re into structural territory that needs diagnosis. Don’t overtighten to the point the hinge steel starts to deform. That’s usually obvious by feel.
Photo Eye Cleaning and Realignment
Photo eyes (the two small sensors mounted near the gate’s path) are the most common cause of “the gate won’t close.” Dust, spider webs, and sun-baked grime on the lens are frequent culprits. Cleaning both lenses with a soft cloth is safe and often fixes the problem outright. Realignment is a bit more involved: you need the two eyes pointing directly at each other with no obstruction. If the mounting bracket has been knocked out of position, a careful adjustment gets you back in business. But note what we said above about timing and entrapment safety, because realigning the eyes can shift the point at which the gate reverses.
Minor Track Debris Clearing
On a sliding gate, debris in the track causes the gate to drag and the opener to strain. Clearing leaves, dirt, and children’s toys out of the track is straightforward and worth doing. Don’t use a pressure washer inside the track; the hardware that sits in it wasn’t built to be blasted. A brush and a shop vacuum handle most of it.
Battery Backup Replacement
Many modern openers (Ghost Controls units and similar residential operators among them) run a battery backup so the gate still works during a power cut. When the battery reaches the end of its life, the gate either stalls mid-cycle or refuses to operate without mains power. Swapping the battery is usually a simple disconnect-and-replace if you match the battery spec your operator calls for. Check the operator’s documentation for the exact battery type and voltage before you buy. Getting the spec wrong is the most common reason a fresh battery doesn’t fix the problem.
Anything outside this list, especially anything electrical, is worth a second look by a specialist. Our electric gate repair work is where most of those calls land, and free estimates are part of how we work.
Where DIY Attempts Most Often Go Wrong
Here’s the pattern we’ve seen more than any other: a homeowner hears the gate motor strain, concludes the motor is bad, orders a replacement motor, installs it, and the gate still doesn’t work. The original fault was never the motor. It was a control board, a transformer, a capacitor, or a limit switch that wasn’t reporting correctly. The motor was a bystander. This is called part-swapping, and it’s the most expensive way to fix a gate.
The Missing Tool: A Multimeter and Fault Codes
If you’re going to troubleshoot an electric gate yourself, a basic multimeter isn’t optional. The readings are how you tell a dead motor from a live motor with a dead control signal, or a photo eye that’s sending vs. one that’s silent. Beyond the meter, most modern control boards store fault codes. Reading those codes is the difference between diagnosis and guesswork, and the codes route to different parts of the system entirely. Skipping them is how you end up with a drawer full of unused parts.
The Wrong Assumption: “It Worked Last Week”
Gates fail gradually. A worn roller doesn’t snap; it flattens. A capacitor doesn’t die cleanly; it weakens until one hot afternoon pushes it over the edge. That’s why the fault can look sudden when the cause has been building for weeks. If you don’t know the history of the part you’re touching, you might be replacing the symptom rather than the cause.
The Tool Gap: Panel Weight and Alignment
Any repair that requires you to lift or hold a gate panel at height is beyond safe DIY territory on a full-size driveway gate. These panels are heavy and the failure mode when one drops is serious injury. This is one place where the DIY calculation tips over immediately, regardless of how comfortable you are with tools.
Cross-brand troubleshooting is where experience pays off, too. Nine brands cross our bench, and the diagnostic conventions differ enough that someone who’s only worked on one or two won’t see the shortcut. Whether your opener is a LiftMaster or a Mighty Mule, we know it, and that means free estimates get to the answer faster.
UL 325 Entrapment Protection: Why Some Repairs Need a Technician
UL 325 is the safety standard that governs automatic gate operators, and it’s the reason some repairs need a trained technician rather than a confident homeowner. In plain terms: any automatic gate that could trap a person or vehicle needs functioning entrapment protection. That’s the photo eye pair, the safety edges (the rubber strips that sense contact), and the operator’s built-in force sensing. When any of those components are adjusted, replaced, or re-timed, the standard requires the system to be retested to confirm the gate still reverses on obstruction.
What “Recertification Testing” Actually Means
Testing entrapment protection isn’t a code word for a fee. It’s a physical verification:
- The photo eye beam is broken by a test object, and the gate must stop and reverse.
- The safety edge is pressed, and the gate must reverse on that contact.
- The gate is obstructed during closing, and the operator must detect the increased force and reverse per its set sensitivity.
- The operator’s limit switches are verified to stop the gate precisely at both open and close positions.
If you’ve adjusted the photo eye alignment, replaced a safety edge, or shifted the limit switches, all four tests need to run again. A homeowner can perform these tests physically. What a homeowner can’t do is self-certify that the result is safe, because the very adjustment you made is what shifted the result. That’s the honest answer to the DIY question on entrapment safety. The repair might work. You just can’t verify it does.
How Peoria Heat Changes the DIY Repair Window
Peoria’s summers are hot enough to change how gate electronics behave. A control board enclosure that’s been sitting in direct afternoon sun reaches temperatures well above ambient, and electronic components don’t behave linearly with heat. A gate that fails at 2pm may work fine at 9pm once the board has cooled. That matters for DIY repair in two ways.
The Heat-Expanded System Trap
If you test a gate in the heat of the day, you’re testing a heat-expanded system. Capacitors, relays, and board traces can behave differently when hot. A repair you verify at 4pm may fail again by 8pm, and you’ll be back to square one. The practical advice: do your testing in the cooler part of the day, when the system has had a chance to stabilize. A repair verified hot is only half-verified.
Components That Wear Faster in the Heat
Battery backups are the most heat-sensitive part on the list. They age faster in high heat than in cooler climates, so a battery backup replacement cycle in Peoria runs shorter than what the manual suggests. If your gate is two or three years past a battery swap and the backup doesn’t hold, heat is likely a factor. Same goes for rubber safety edges, which harden and crack faster in sustained heat, and photo eye lenses that cloud over a bit sooner than they’d like. Knowing this saves you from misdiagnosing a worn battery as a dead operator.
For technicians who work in Peoria, this heat profile is part of the job. Our Peoria work is built around the local conditions, not a generic manual.
Warranty and Insurance: What DIY Repairs Can Cost You Down the Line
This is the part most DIY guides skip entirely. It’s also the part that can cost a homeowner the most. If you perform a repair on an automated gate system and the gate later fails and someone is injured, your homeowner’s insurance may take the view that a self-performed repair voids or complicates coverage on that incident. We’re not attorneys, so we won’t pretend to give legal advice, but we can tell you what to ask your insurer and what to look for in your policy.
Questions to Ask Your Insurer Before DIY
- Does my policy exclude liability for injuries arising from a repair I performed myself on an automated gate?
- Does the gate’s manufacturer or installer warranty remain valid if I perform this repair?
- Is the gate listed as a covered structure on my policy, and does that coverage depend on professional maintenance?
Most standard homeowner policies don’t specifically call out gate repairs, and the answer varies by carrier and by state. The one thing you can count on: if a claim is disputed, documentation matters. A professional repair comes with a written record of what was done and by whom. A DIY repair comes with nothing except your memory.
The Warranty Angle on the Operator
Operator warranties (LiftMaster, DoorKing, Elite, and the rest) typically cover defects in materials and workmanship. They generally don’t cover damage from improper installation or unapproved modifications. Replacing a motor without checking the control board isn’t a defect; it’s an installation problem. That distinction matters when you ask for warranty service, and it’s one more reason diagnosis before replacement pays for itself.
Why Brand Matters: Ghost Controls, DoorKing, Mighty Mule, and More
Not every gate operator fails the same way, and the failure patterns differ by brand. Ghost Controls residential operators are popular for solar and battery setups, and their failure modes tend to cluster around battery and solar charge controllers. DoorKing systems, which lean commercial and multi-unit residential, put more load on loop detectors and access control integration. Mighty Mule operators have their own diagnostic quirks around limit switches and remote pairing. Elite systems sit at the higher end of residential and commercial, and their control boards carry more sophisticated fault reporting. Reading fault codes on an Elite board tells you more than reading them on a basic Mighty Mule.
The practical upshot for DIY: if you’re going to self-diagnose, get the actual fault code from your operator’s manual. Don’t assume the symptom points to the part. The nine brands we service (LiftMaster, FAAC, BFT, Linear, Viking, Ghost Controls, DoorKing, Elite, and Mighty Mule) all have diagnostic paths that lead to a specific answer, and the answer is not always the obvious one. Nine brands, one specialist, no runaround is exactly why free estimates here tend to wrap quickly.
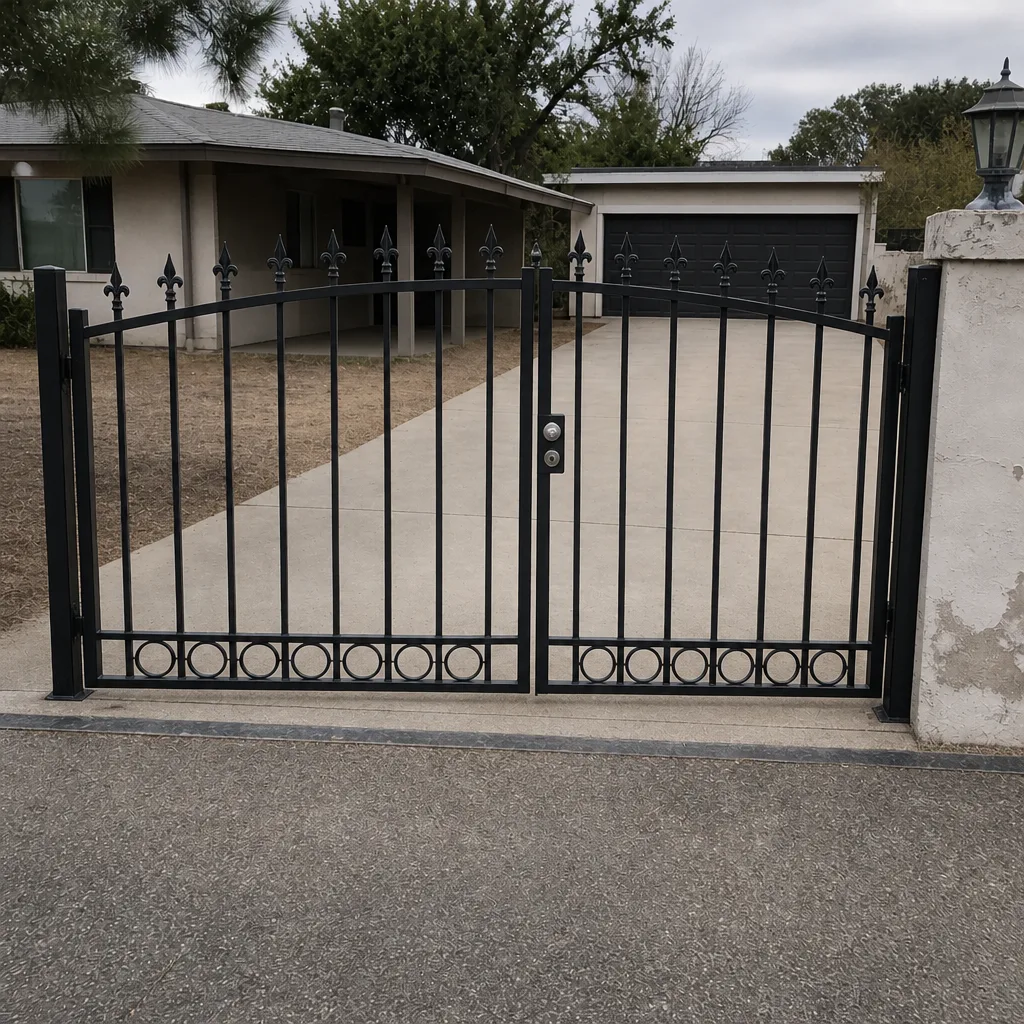
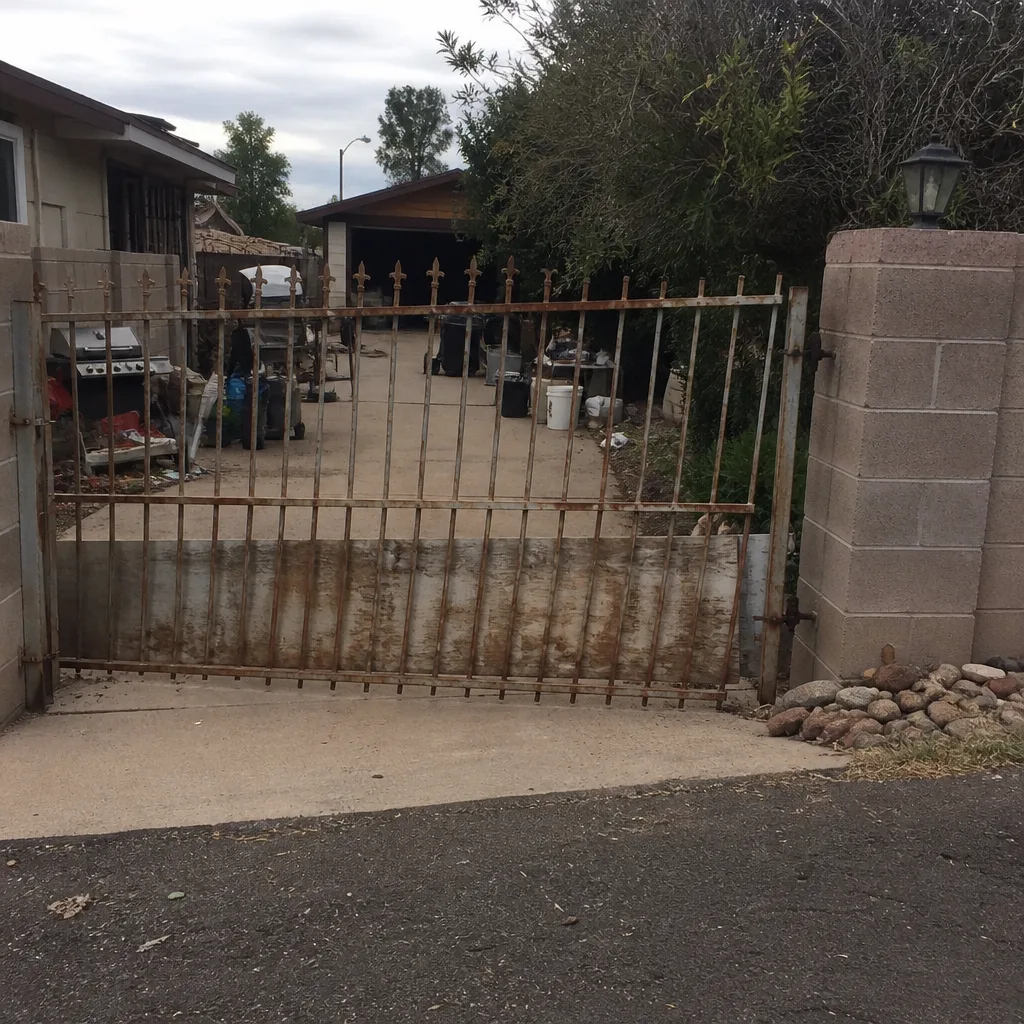
See the difference
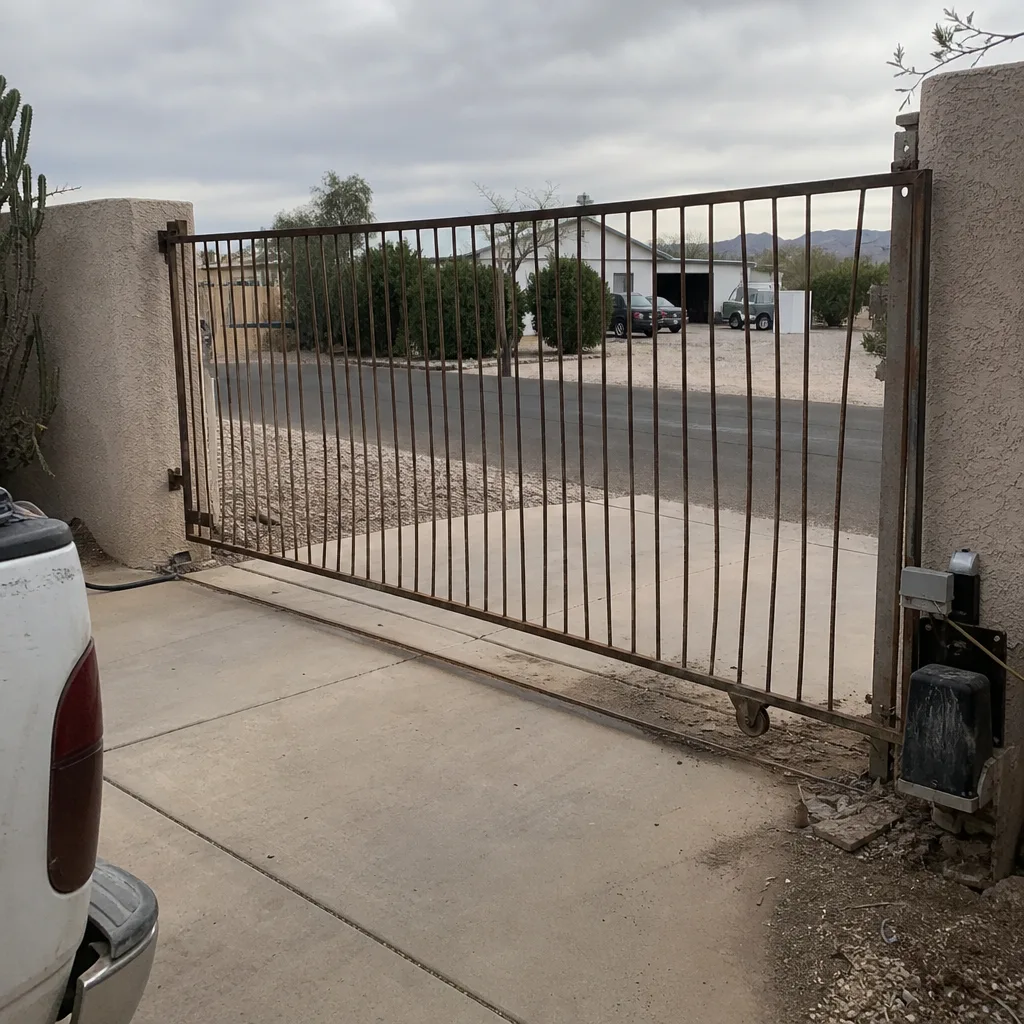 Before
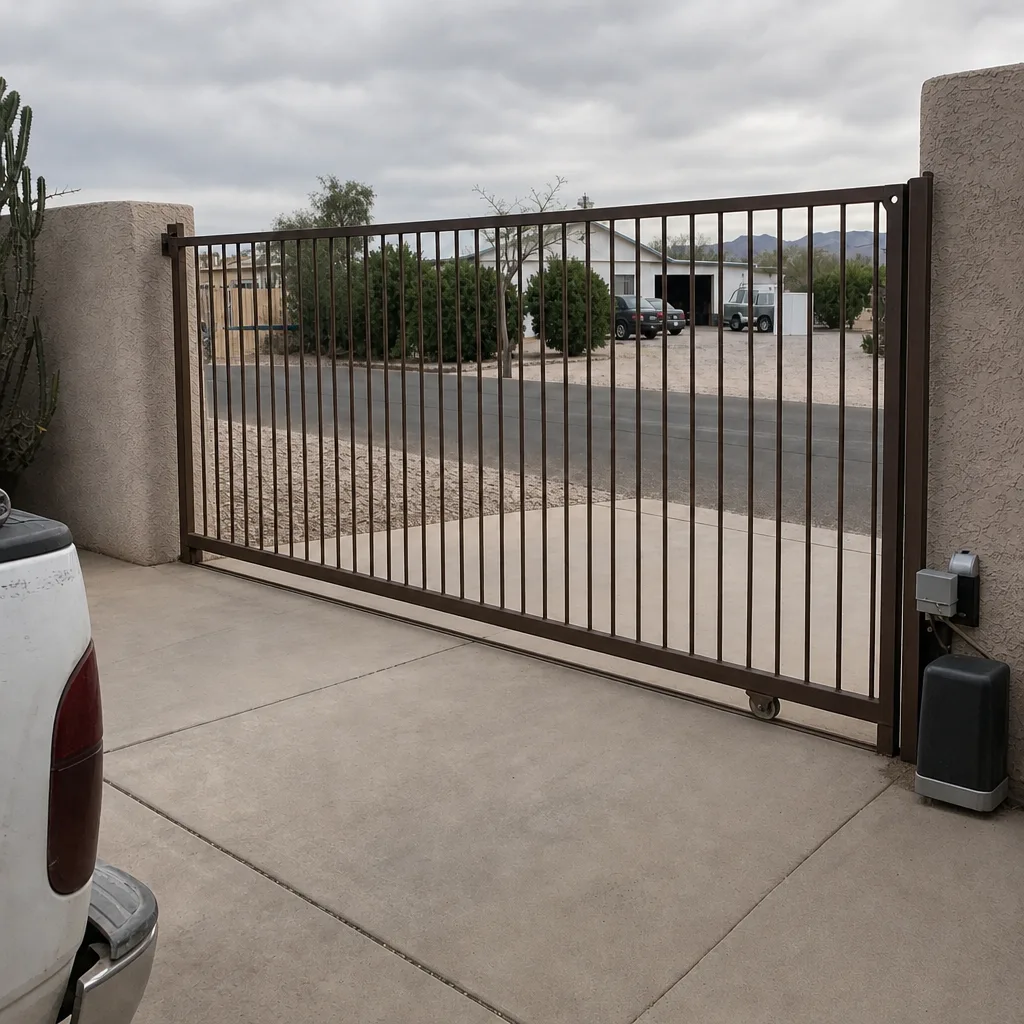 After
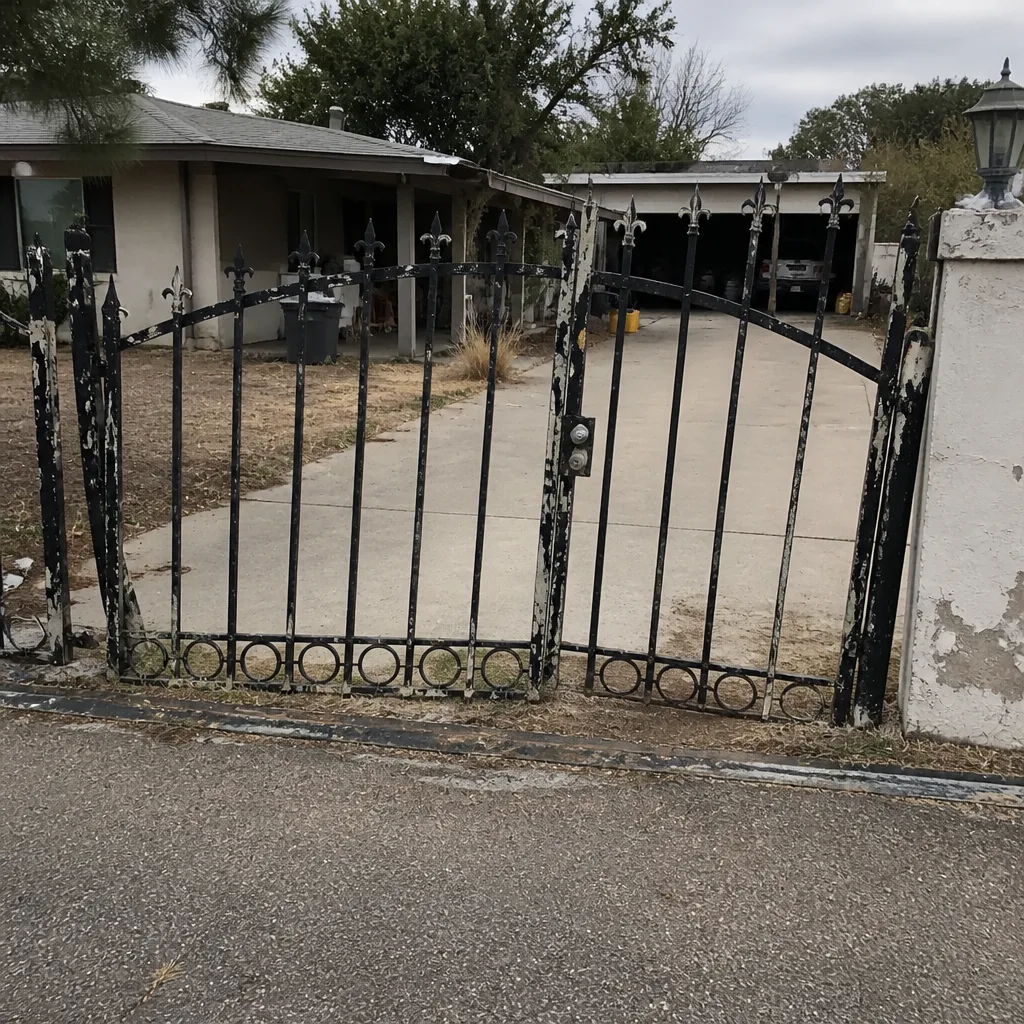 Before
 After
 Before
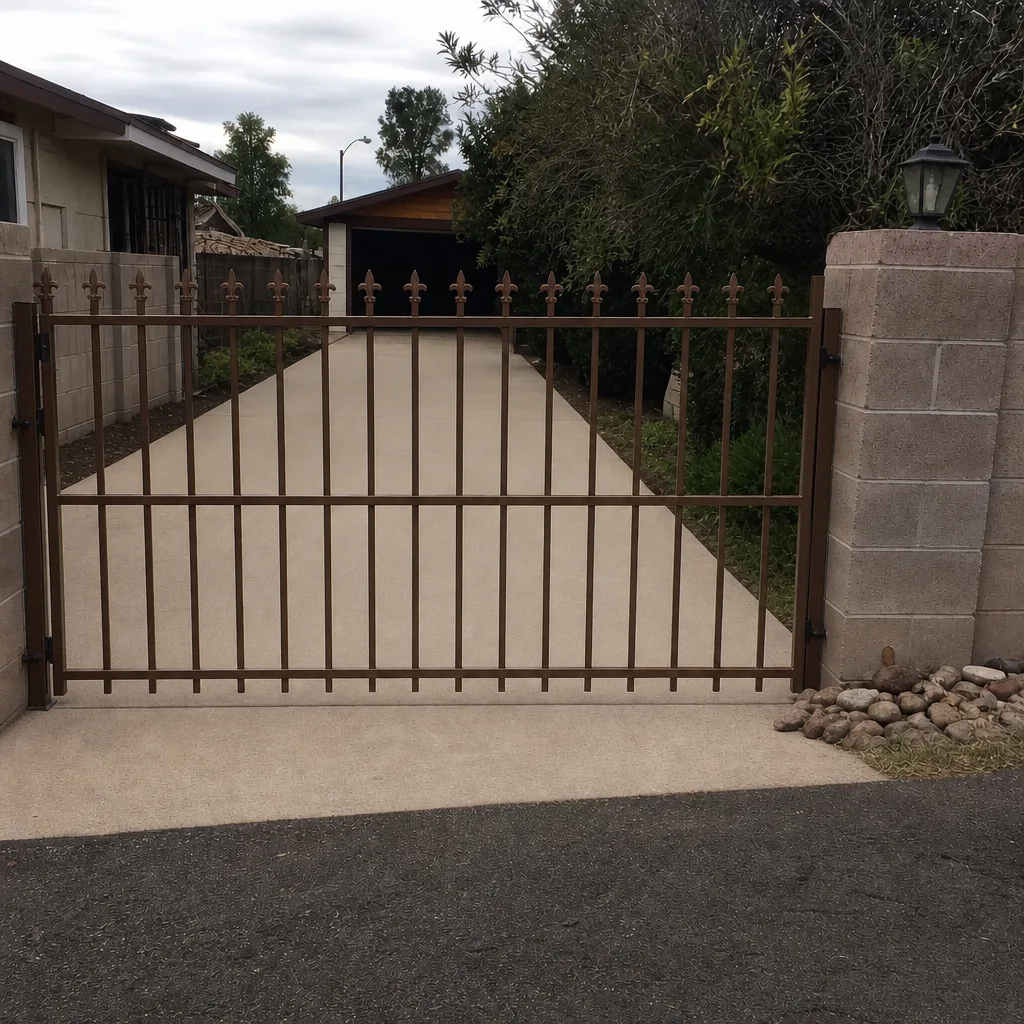 After
Common Mistakes to Avoid
- Part-swapping instead of diagnosing. Replacing a motor without checking the control board is the most expensive mistake on this list. A multimeter reading and a fault code check take ten minutes and save you the price of a wrong part.
- Adjusting photo eyes without recertifying the reversal. Realignment is easy; verifying the gate still reverses on obstruction is the part that requires a trained eye. Skipping this step leaves the gate in a state you can’t confirm is safe.
- Testing a gate in the heat of the afternoon. A hot control board can read differently than a cool one, so a repair you verify in the sun at 2pm may fail again by evening. Run your test when the system is stable.
- Ignoring the battery backup until it fails. In Peoria’s heat, batteries age faster than manual specs suggest. If the backup is three or more years old and won’t hold, replace it before it strands you.
- Using the wrong battery spec. Voltage and amp-hour ratings matter. The operator’s documentation tells you the spec, and the wrong battery doesn’t fix the problem.
- Assuming a warranty covers your repair. Most operator warranties exclude unapproved modifications. If you replace or alter a component, document exactly what you did, or you may lose the coverage you thought you had.
- Skipping the insurance call. Before you self-repair an automated gate system, a two-minute call to your insurer answers the liability question. That’s cheaper than discovering the answer after an incident.
When to Call a Professional
Call a professional whenever the fault is electrical, electronic, or affects entrapment safety. That includes: a motor that hums but won’t move, a control board that won’t accept a remote or reads an error you can’t identify, photo eyes that won’t align and hold, safety edges that don’t trigger the reversal, loop detectors that false-trigger, and any intercom or keypad that’s dropped out. It also includes any repair that requires you to lift or hold a gate panel, and any structural work beyond tightening a bolt. If your gate is a commercial or HOA installation, assume the answer is professional, because the documentation and testing burden is higher. Our technicians have up to 11 years of experience, and the entrapment testing that follows a repair is part of the job. Call us at (855) 574-0402 for a free estimate, and we’ll tell you honestly whether the job is one you can do yourself. We answer 24/7, and we run fast dispatch from 7am to 7pm, Sunday through Friday.
Frequently Asked Questions
Yes, a battery backup replacement is a reasonable DIY job in Peoria if you match the spec the operator calls for. Look up the battery type and voltage in your manual or on the current battery, disconnect the old one, and install the replacement. If the gate still won’t hold without mains power after the swap, the fault is upstream in the charge circuit and worth a diagnostic. Call (855) 574-0402 for an exact quote; estimates are free.
Electronic components on the control board behave differently when they’re hot. In Peoria, a control board exposed to afternoon sun can trigger a stall or fault that clears by evening when the board cools. That pattern points to a heat-sensitive component, often a capacitor or relay, and it’s difficult to diagnose from a one-time test. If the failure repeats around the same time of day, an on-site diagnostic finds it faster than swap-testing. Call (855) 574-0402 for a free estimate.
UL 325 is the safety standard that governs automatic gate operators and their entrapment protection systems. It matters for your repair because any change to the photo eyes, safety edges, or force sensitivity requires retesting the gate’s reversal function. If your repair touches those parts, the gate needs a verification test afterward that a homeowner can perform physically but cannot self-certify. That’s the practical reason a trained technician handles these jobs. Call (855) 574-0402 for an exact quote; estimates are free.
No. The most common mistake on a gate repair is replacing the obvious part (usually the motor) when the real fault is elsewhere (usually the control board, capacitor, or a limit switch). The symptom rarely points directly at the cause, and without a fault code and a multimeter reading you’re guessing. Diagnosis before replacement is the one habit that saves the most money. Call (855) 574-0402 and we’ll diagnose the system, not just the symptom.
Yes. We service the nine gate and access-control brands we specialize in, including units you bought elsewhere or inherited with a property. Cross-brand troubleshooting is standard here, so you’re not stuck because your brand doesn’t match the last gate truck you saw. As a specialist, we work with what’s installed rather than pushing a replacement. Call (855) 574-0402 for a free estimate.
That depends on your homeowner’s policy and the specific circumstances, so the honest answer is to check with your insurer before you do the repair. Most policies don’t specifically exclude self-performed gate repairs, but coverage for an injury claim can be complicated by an unrecorded modification. The safe path is a professional repair with documentation of what was done. A written estimate and a record of the repair is worth more than a saved hour of labor. Call (855) 574-0402 for an exact quote; estimates are free.
The Bottom Line
DIY gate repair in Peoria is fine for four jobs: hinge tightening, photo eye cleaning and realignment (with the safety caveat noted above), track debris clearing, and battery backup replacement with the correct spec. Everything else, especially electrical and electronic faults and anything that affects entrapment safety, belongs with a specialist who can read fault codes, test the reversal, and document the work. The cost of a wrong-part DIY attempt is often higher than the original repair would have been, and the liability exposure when a gate later fails is a separate risk entirely. Diagnose before you replace, verify in cool conditions, and call before you guess. We specialize exclusively in gates. One call covers repair, installation, and everything in between, and free estimates run through the same number.
If your gate is binding, stalling, refusing to reverse, or failing in the heat, the fastest way to a clear answer is a call. Reach us at (855) 574-0402 for a free estimate. We answer 24/7. Fast dispatch from 7am to 7pm, Sunday through Friday. Whether your opener is a LiftMaster, DoorKing, or Ghost Controls, we’ll diagnose it, quote it in writing, and tell you honestly what it needs. For more on what a visit covers, start with Gate Repair Peoria.
Written by the team at Gate Repair Peoria.