
Last updated November 15, 2026
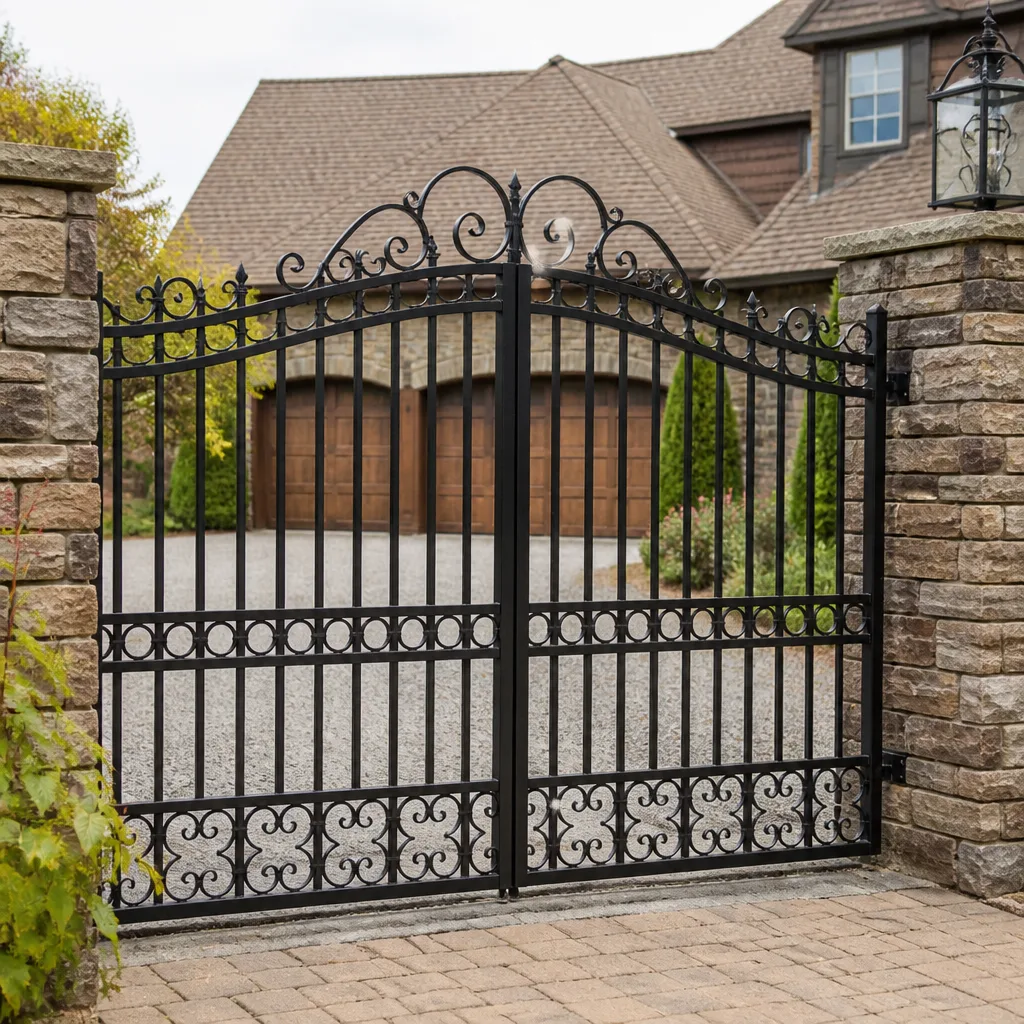 Wrought iron
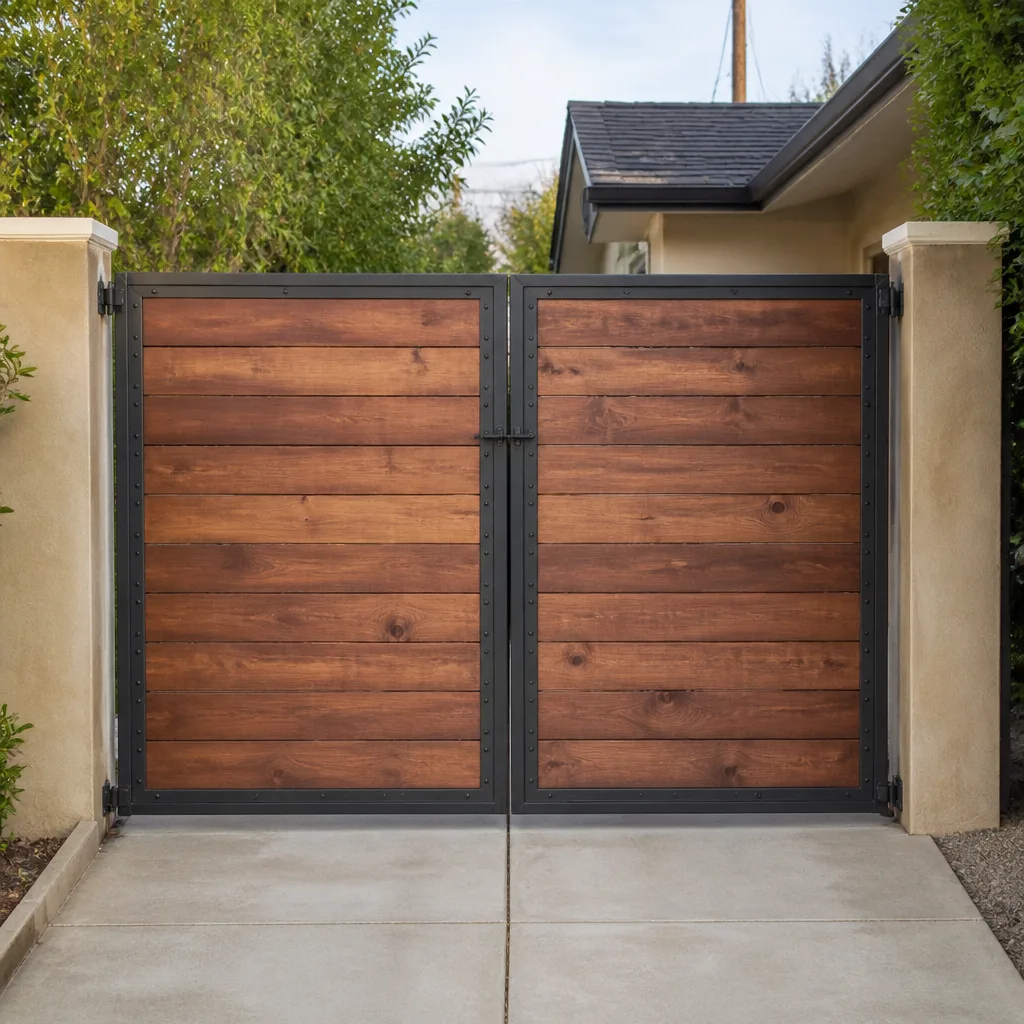 Wood & steel frame
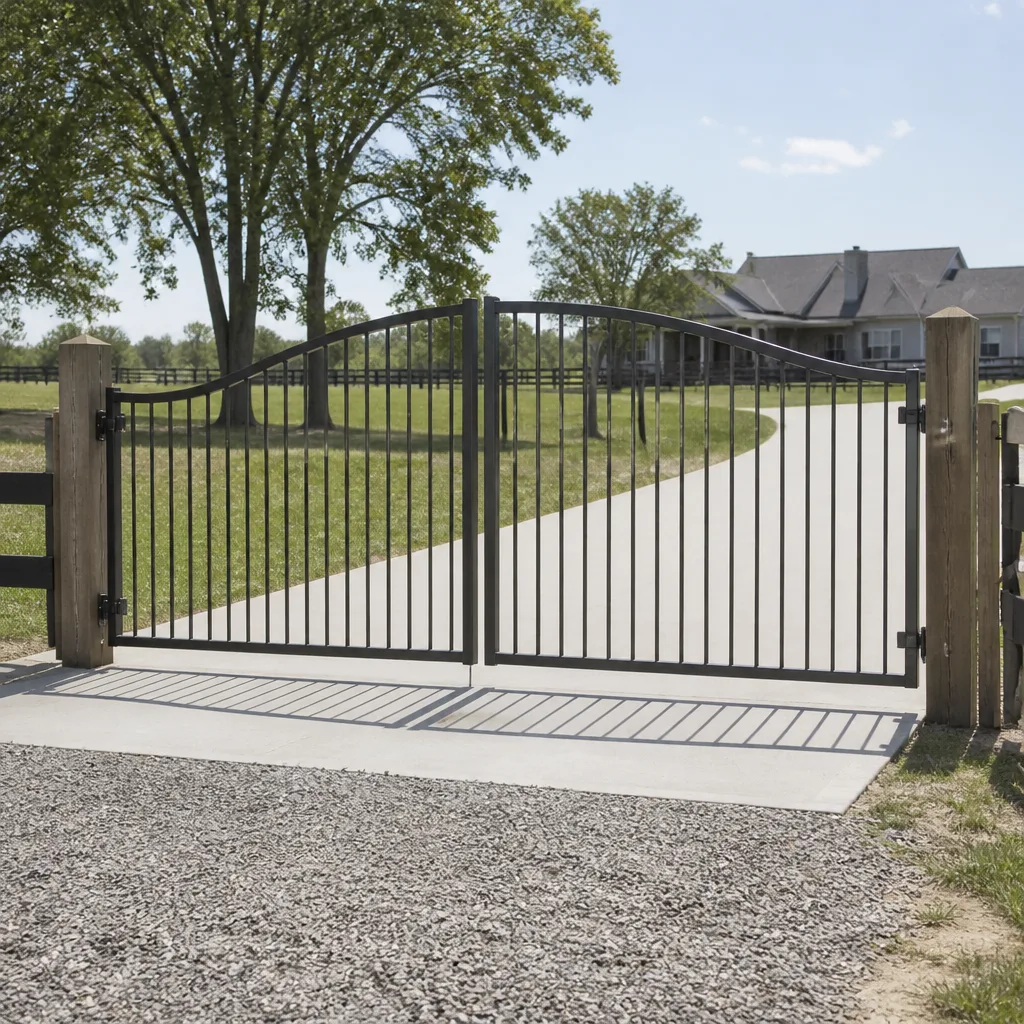 Farm & ranch
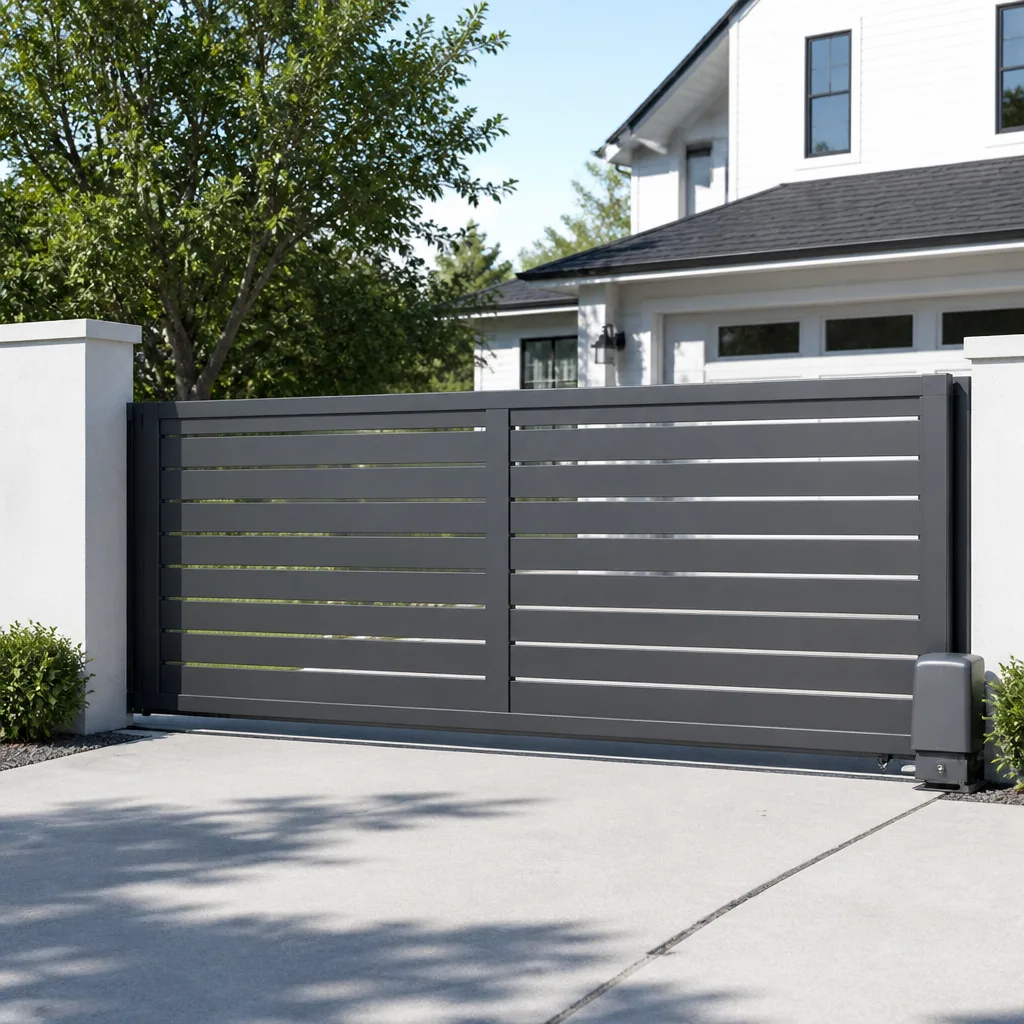 Sliding driveway gates
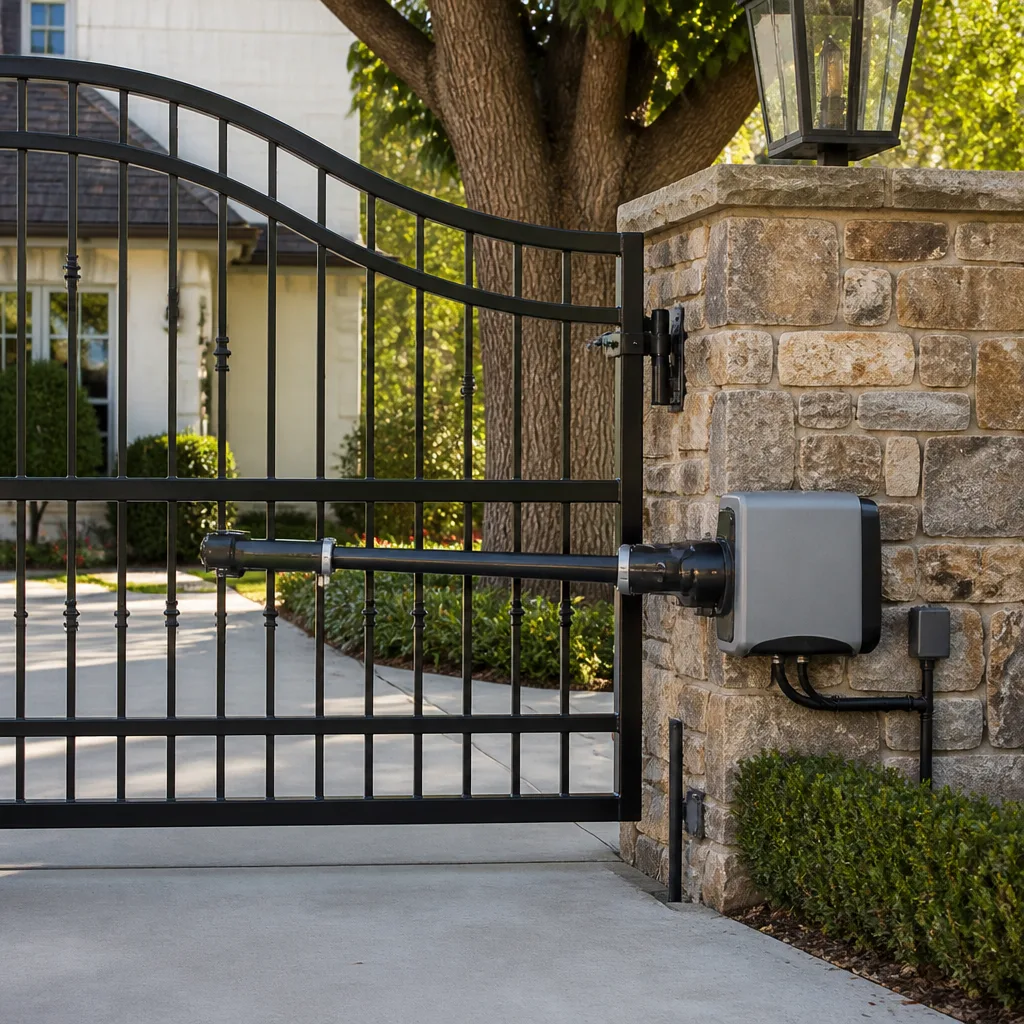 LiftMaster operators
Free on-site gate assessment - hinges, posts, and your LiftMaster or Nice gate operator checked before anything is quoted
The assessment is free and the quote is the invoice.
Get your free estimateGate Repair Maintenance Checklist for Peoria Homeowners
If your gate maintenance checklist includes “lubricate hinges in spring,” you’re already six weeks late. Peoria’s UV load and heat start breaking down rubber seals, photo-eye lenses, and grease viscosity in February, not April. A national home improvement site won’t tell you that, because its checklist was written for a climate that doesn’t exist here. This guide replaces the generic quarterly calendar with a task schedule built around Peoria’s actual weather year: the pre-monsoon window, the sustained heat stretch, and the cool months when you can actually get ahead of problems. You’ll learn what to check, when to check it, and what the surface signs mean before a gate quits entirely.
Quick Answer
A working gate maintenance checklist in Peoria runs on a climate calendar, not a four-seasons template: pre-monsoon checks on photo eyes, limit switches, and control board ventilation; post-summer checks on motor brushes, battery backup, and wiring insulation after sustained heat above 110°F; and cool-season lubrication with a high-temperature grease instead of standard white lithium. The single highest-value task most homeowners and HOAs skip is cleaning and testing the entrapment protection sensors, which drive a large share of mid-summer failures. If you’d rather hand the whole schedule to a specialist, Gate Repair Peoria handles it.
Styles & brands we work with
- Wrought iron
- Wood & steel frame
- Farm & ranch
- Sliding driveway gates
- LiftMaster operators
Table of Contents
- Why a Peoria Gate Needs Its Own Calendar
- Pre-Monsoon Checklist: Photo Eyes, Limits, and Control Boards
- Post-Summer Heat Checklist: Motor Brushes, Backup Battery, Wire Insulation
- Lubrication for Peoria: Why White Lithium Fails
- How to Read a Gate Post Footing Without Digging
- The Skipped Task Behind Mid-Summer Failures: Entrapment Sensors
- A Printable Month-by-Month Task Schedule
- What You Can Check Yourself and What Needs a Specialist
Why a Peoria Gate Needs Its Own Calendar
A gate in Peoria lives through two punishing phases each year, and they stress different parts. The first is the run-up to monsoon season, when dust-laden wind events coat everything in grit and the first heavy rains arrive on top of it. The second is the long heat stretch, where afternoon highs sit above 110°F for week after week and every rubber, plastic, and grease component on the gate bakes in direct sun. A checklist built around March-June-September-December generic intervals never lands on either phase at the right moment.
The gates we see most often in Peoria are automatic driveway gates on residential lots and shared HOA entrances. Both types face the same sun, dust, and summer heat, but they age at different rates. A residential swing gate might cycle a few times a day. An HOA slide gate can cycle hundreds of times a day, which means its motor brushes, roller bearings, and photo-eye lenses accumulate wear far faster. Two identical operators can need the same motor replacement years apart based purely on cycles per week.
Here’s the calendar that actually fits this climate:
- February to April: Cool-season window. Grease, inspect, adjust. Seals and rubber should be checked now because the heat damage starts here.
- May to June: Pre-monsoon prep. Photo eyes, limit switches, control board ventilation, debris clearing.
- July to September: Heat peak. Watch for slow cycling, overheated motors, and battery backup failures. Don’t ignore small changes.
- October to November: Post-summer inspection. Motor brushes, wiring insulation, footing checks after any settling.
- December to January: Cool-season catch-up. Whatever you missed in spring can be done now before the next heat cycle.
If your gate is an electric gate repair candidate because it’s already failing, the maintenance schedule comes after the fix, not instead of it. A gate that’s opening slowly or stopping halfway doesn’t need a checklist; it needs a diagnosis.
Pre-Monsoon Checklist: Photo Eyes, Limits, and Control Boards
The pre-monsoon weeks are the most important maintenance window of the Peoria year, and they’re almost always the one homeowners miss. Haboob-style dust storms drive fine grit into every opening on the gate and controller. When rain follows, that grit becomes abrasive paste inside pivots, hinges, and photoelectric sensor housings, and the photo eyes lose their clear line of sight.
Work through these tasks before the first storm arrives:
- Wipe and test the photo eyes. Clean both lenses with a soft dry cloth, then break the beam by hand and confirm the gate reverses or holds. If the LED on the sensor is dim, flickering, or dark, the sensor is failing.
- Clear the beam path. Trim any plant growth, and check that the sensor brackets haven’t been bumped out of alignment by a vehicle or a yard crew.
- Inspect limit switches. Open and close the gate slowly and listen for the click of the limit. If the gate overshoots its stop or reverses hard at the end of travel, the limit is out or the arm has shifted.
- Check control board ventilation. Open the controller housing and look for dust build-up, cobwebs, or insect nests over vents. Canned air or a soft brush clears it. Never blow into a live board; kill power at the breaker first.
- Verify the rain/dust seal on the housing. A degraded gasket lets grit into the board and is a common cause of intermittent faults during storms.
- Test manual release. Whatever brand you own – Mighty Mule, LiftMaster, FAAC, or BFT – the manual release should move freely so you can open the gate by hand if the power drops.
On shared HOA gates in Peoria, add a step: disinfect and test every keypad and intercom button before the season. Dust and heat combine to make keypad membranes stick, and a stuck key reads to the board as a constant press.
Post-Summer Heat Checklist: Motor Brushes, Backup Battery, Wire Insulation
Sustained 110°F+ heat doesn’t break things the way a storm does. It ages them quietly. By October, a gate that ran perfectly in May may have lost measurable motor performance, a weak battery, and insulation that’s starting to crack. This is the checklist that catches those problems before they turn into a dead gate.
Motor brushes. On brushed DC operators, the brushes wear down with each cycle and the heat accelerates the wear. Look at brush length against the manufacturer’s wear limit. If you’re not sure what the limit is, a specialist can check it. Worn brushes cause weak opening force, stalling, and a hot smell from the motor housing.
Backup battery capacity. Every automatic gate with a battery backup should be load-tested after the summer. A battery that held the gate for many cycles in spring may only hold it for two or three by fall. If the gate won’t open when the power is cut, the battery is done and needs replacing before the next outage strands someone.
Wiring insulation. Look along the exposed low-voltage run from the operator to the photo eyes, keypad, and any intercom. Sun-degraded insulation cracks and exposes copper, causing intermittent faults that come and go with temperature. If you see flaking or green corrosion at a connector, that run needs attention. High-voltage wiring from the panel is not a homeowner job; keep hands out of the line side.
Operator housing and seals. Sun-degraded gaskets around the motor cover and control box let dust and moisture in over winter. Replace any that are hard, cracked, or misshapen.
In our experience, the two most common post-summer failures on Peoria residential gates are a battery that won’t hold charge and motor brushes that have worn past spec. Both are inexpensive to fix if caught in October and much more expensive if the gate dies mid-December.
Lubrication for Peoria: Why White Lithium Fails
Standard white lithium grease is the most common recommendation on national gate maintenance lists, and in Peoria it’s often the wrong choice. White lithium has a relatively low dropping point, meaning it softens and runs out of the joint well below the surface temperatures a metal gate reaches in direct July sun. It also picks up dust and grit easily and turns into an abrasive paste. You end up with a hinge that looks greased and grinds anyway.
What holds up here:
- High-temperature lithium complex or synthetic grease for hinge pins, pivot points, and slide-gate rollers. These keep their body at much higher temperatures than standard white lithium and resist washing out.
- Dry-film PTFE or silicone spray for tracks, guides, and the slide rail where dust is a constant problem. It doesn’t collect grit the way grease does.
- Dielectric grease on low-voltage connectors and terminal blocks, to slow corrosion at the photo eye and keypad connections.
What to avoid: WD-40 as a long-term hinge lubricant (it’s a solvent more than a lubricant and evaporates), and any grease labeled “all-purpose” without a heat rating. If the label doesn’t mention temperature, assume it fails the Peoria test.
Lubricate in the cool part of the day during the February-to-April window, not in the middle of summer. Grease applied to a hot metal surface flashes off the lighter carrier oils before it reaches the joint. Wipe off old grease and grit first; applying new grease over the old just traps the abrasive.
How to Read a Gate Post Footing Without Digging
A shifted gate post footing is the most expensive problem on any gate, and it’s also the one homeowners discover last. You don’t need to dig to spot the early signs. Soil shift, especially after a heavy monsoon rain or a dry summer that shrinks the soil, shows up at the surface first.
Here’s what to look at, from the ground up:
- Check the soil ring around the post base. Look for a gap, a lean, or a crack radiating out from the base. A uniform ring of firm soil is fine. A visible separation or a gap on one side is a warning.
- Look at the post itself. A vertical post should look vertical from two angles, ninety degrees apart. If it leans in one view but looks plumb in the other, the footing has shifted in one direction.
- Open and close the gate by hand. If a manual gate binds at one end of travel, the hinge or the post is out of alignment. On an automatic gate, a bind will show as laboring, straining, or the gate stopping short.
- Check the gate’s latch point. Does the gate still seat cleanly in the catch, or has it started to rub? A gate that used to latch easily and now needs a nudge is telling you the geometry has moved.
- Look at the operator arm bracket. On swing gates, the arm bracket should be tight and vertical. A bracket that’s torn out or backed out of its fasteners is a footing problem showing up at the top.
- Watch for foundation cracks near the post. On gates mounted to a masonry wall or pillar, cracks radiating from the post attachment mean the base has shifted and needs a specialist to evaluate.
If you see any two of these signs together, stop operating the gate and have the footing inspected before a heavy rain makes it worse. A footing repair caught early is much cheaper than a post replacement, and far cheaper than a gate that falls on a vehicle.
The Skipped Task Behind Mid-Summer Failures: Entrapment Sensors
The most commonly skipped maintenance task on Peoria gate systems is cleaning and testing the entrapment protection sensors. It’s also the root cause of a large share of mid-summer failures we see on HOA gates. The homeowner or property manager sees a gate that “won’t open” or “keeps reversing” and assumes the motor is failing, when the actual problem is a dirty or misaligned photo eye that the control board is reading as an obstruction.
The sensors work by design. A photoelectric beam runs across the gate path. When the beam breaks, the board reverses the motor. When a lens is coated with dust, or the beam is bent by heat expansion, or a spider has built a nest in the housing, the board sees a permanent “obstruction” and refuses to close. The gate looks broken. The sensor is just doing its job on bad information.
Do this every month, not just once a year:
- Wipe both sensor lenses clean with a soft dry cloth.
- Confirm the alignment LED on the receiving sensor is steady and bright, not flickering.
- Break the beam by hand and confirm the gate reverses or stops. Then clear the path and confirm it runs normally again.
- Look for any plant growth, debris, or a sagging sensor bracket that intrudes on the beam path.
- On slide gates, run the same test at the fully open and fully closed positions, since the beam angle changes as the gate moves.
For any gate with a LiftMaster or FAAC operator, a quick monthly check is the fastest single task you can do to prevent a stuck gate. If your HOA gate has a keypad, intercom, or loop detector in the entry, put all of those on the same monthly visit. Entrapment sensors on access hardware fail more quietly than the operator, and they’re the first thing to lose reliability when dust builds up.
A Printable Month-by-Month Task Schedule
Here’s the schedule we recommend for a Peoria residence or HOA entrance. Print it, tape it inside the cabinet door where you keep the manual, and check tasks off as you go. Adjust the frequency upward if your gate cycles more than about fifty times a day; a busy HOA slide gate often needs the monthly tasks done weekly.
February to April (cool-season baseline)
- Lubricate hinges, pivots, and rollers with high-temp grease.
- Inspect seals, gaskets, and rubber boots for cracking.
- Test manual release.
- Load-test the backup battery.
May to June (pre-monsoon prep)
- Full photo eye and sensor cleaning and alignment check.
- Clear debris from control board vents.
- Inspect limit switches and adjust if needed.
- Check keypads and intercoms on access systems.
- Clear any vegetation from the beam path and the gate track.
July to September (heat peak, observation mode)
- Monthly sensor test.
- Watch for slow cycling, stalling, or a hot smell from the operator housing.
- Note any intermittent faults and record the conditions, since they’ll need a diagnosis if they repeat.
October to November (post-summer inspection)
- Inspect motor brushes against the wear limit.
- Inspect wiring insulation for cracks or exposed copper.
- Re-check footings for soil shift.
- Check and top up or replace the backup battery.
December to January (cool-season catch-up)
- Repeat the February-to-April tasks if they slipped.
- Review any faults from the summer heat stretch; if they’ve recurred, book a specialist inspection.
For new gate installation or a full system replacement, this schedule becomes the maintenance plan after commissioning. On a new install, we recommend photographing the footing and the sensor alignment when the system is installed, so you have a visual baseline for later comparisons. Whether your new operator is a LiftMaster, FAAC, BFT, or Mighty Mule, the schedule is the same.
What You Can Check Yourself and What Needs a Specialist
Some of this checklist belongs to the homeowner, and some to a trained technician. Getting that line right keeps you safe and keeps you from doing damage trying to fix a problem that starts with a call. Here’s the practical split.
Safe for you to handle:
- Cleaning sensor lenses and clearing the beam path.
- Wiping debris off the exterior of the control housing.
- Checking the manual release for free movement.
- Observing footing soil for gaps, cracks, or lean.
- Testing the backup battery by cutting power and confirming the gate operates.
- Cleaning dust off the housing vents with the power off.
Best handled by a technician:
- Any work on the control board or its connections.
- Adjusting limit switches and the operator’s travel setup.
- Motor brush inspection or replacement.
- High-voltage wiring from the panel to the operator.
- Footing repair or post replacement.
- Sensor realignment after a bracket impact or shift.
Two hard safety caveats. First, any contact with the line-voltage wiring feeding the operator or the control board is a serious electrical hazard. Kill the breaker, but also treat the line side as live. A gate technician trained on that class of equipment is the right person for it. Second, a heavy swing or slide gate has real mass. A slowing gate or a gate that reverses without warning is not something to keep operating while you look up the manual. Stop and have it diagnosed. On a slide gate, a track that’s come loose or rollers that have failed can let the gate come off its rail, which is a crushing hazard; call a specialist before you try to operate it again.
Electric gate systems on the nine brands we work with – LiftMaster, FAAC, BFT, Linear, Viking, Ghost Controls, DoorKing, Elite, and Mighty Mule – are the ones we see lift on maintenance checks and fail on the ones that skip. Whether the operator is a residential Mighty Mule swing gate or a commercial DoorKing slide gate, the diagnosis process is the same: check the motor, the board, and the sensors together, not in isolation.
Common Mistakes to Avoid
- Following a national seasonal checklist. “Lubricate in spring” lands in April, which is six weeks after the damage starts in Peoria. Build your tasks around the pre-monsoon and post-summer windows, not a generic four-season template.
- Using standard white lithium grease on hinges and pivots. It breaks down in direct summer sun and turns into an abrasive paste when dust settles into it. Use a high-temperature grease rated for the surface temperatures that metal reaches here.
- Ignoring the entrapment sensors until the gate stops. A dirty or misaligned photo eye reads to the control board as an obstruction and shuts the gate down. Monthly cleaning and testing is the cheapest maintenance task on the whole list.
- Skipping the backup battery test. A battery that runs the gate in spring may hold it for only a few cycles by fall. Test it under load each October rather than waiting for a power outage to expose the problem.
- Not tying maintenance to the footing. A gate can look fine while the footing is losing ground. Monthly surface checks of the soil ring, latch point, and post plumb catch shift before the gate binds or the operator starts straining.
- Greasing over old grease and grit. New grease applied over old grit just traps the abrasive inside the joint. Clean the joint, wipe the old grease and dust off, then apply.
- Calling a general handyman for an intermittent fault. A gate that fails once a week in the afternoon heat needs an electric gate specialist who can read the board, the sensors, and the motor together. A general repair often replaces the wrong part.
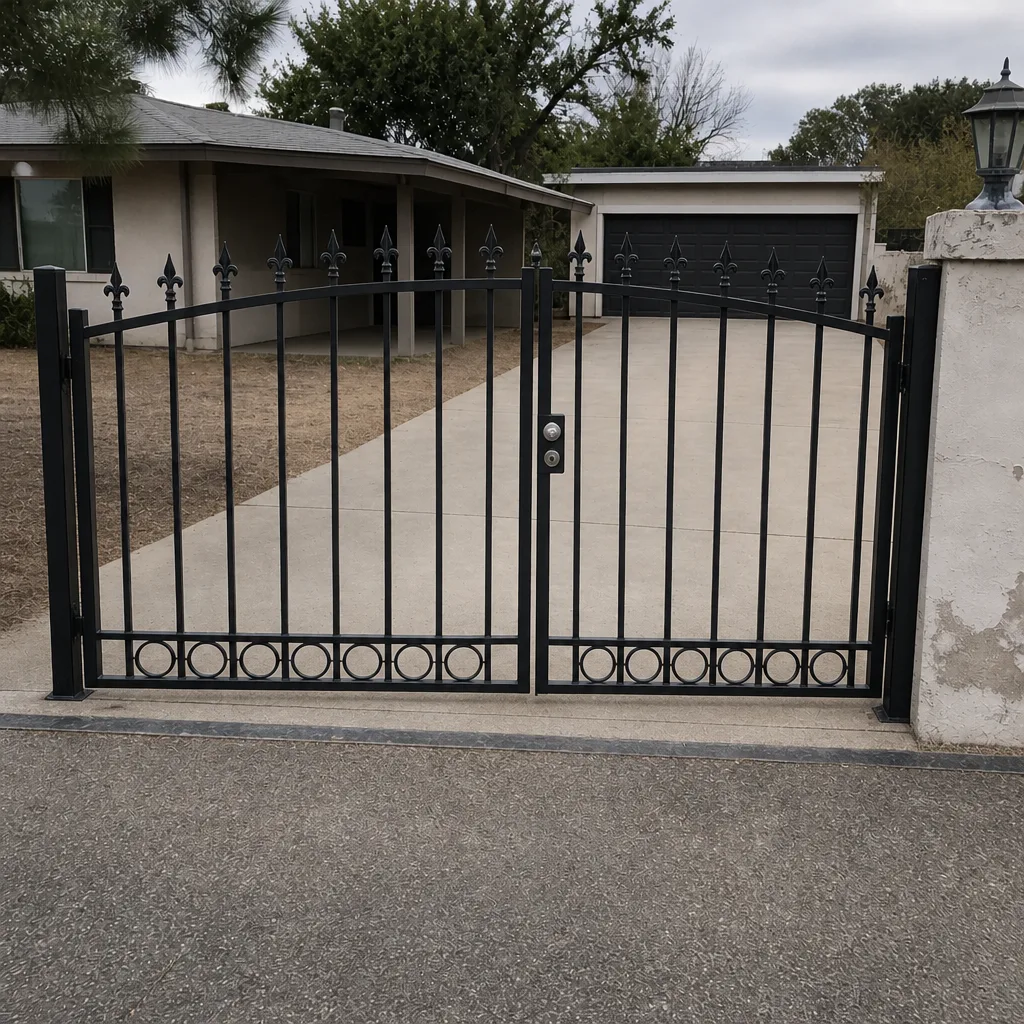
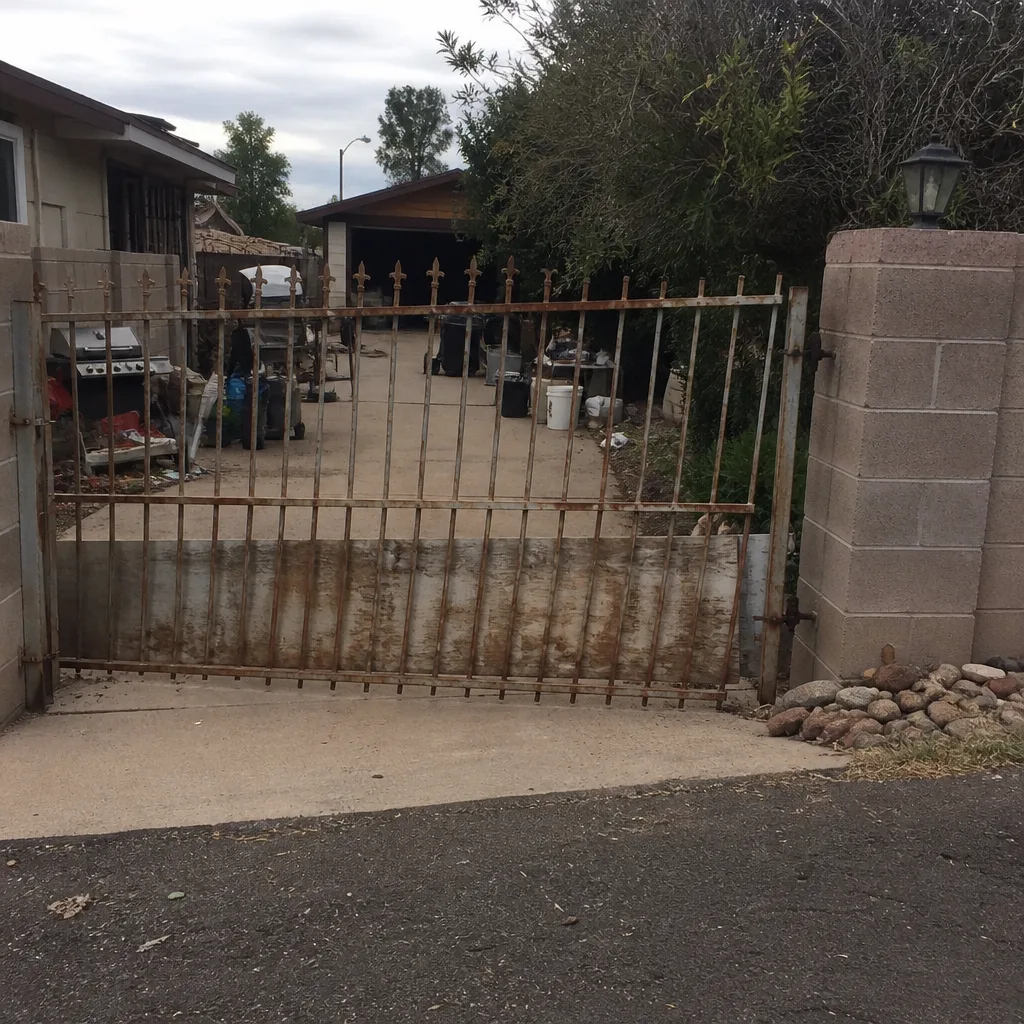
See the difference
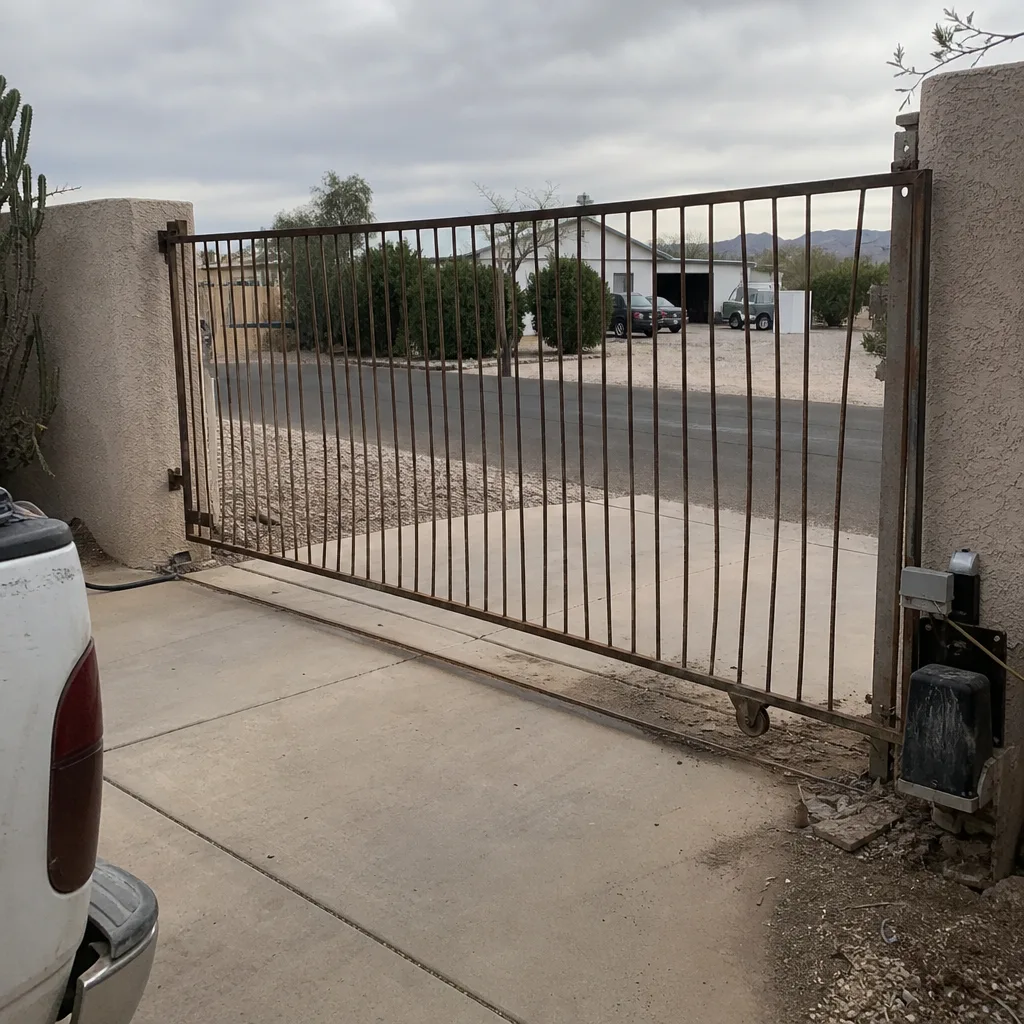 Before
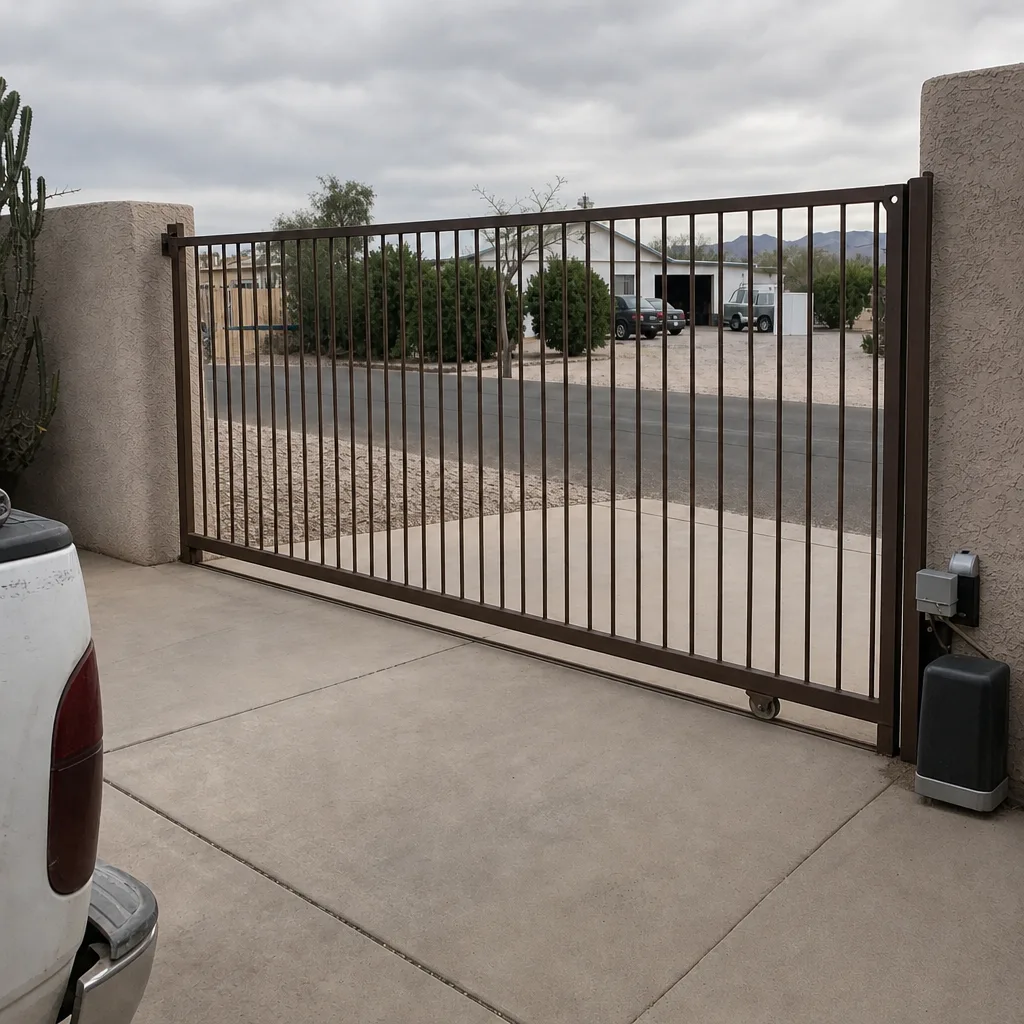 After
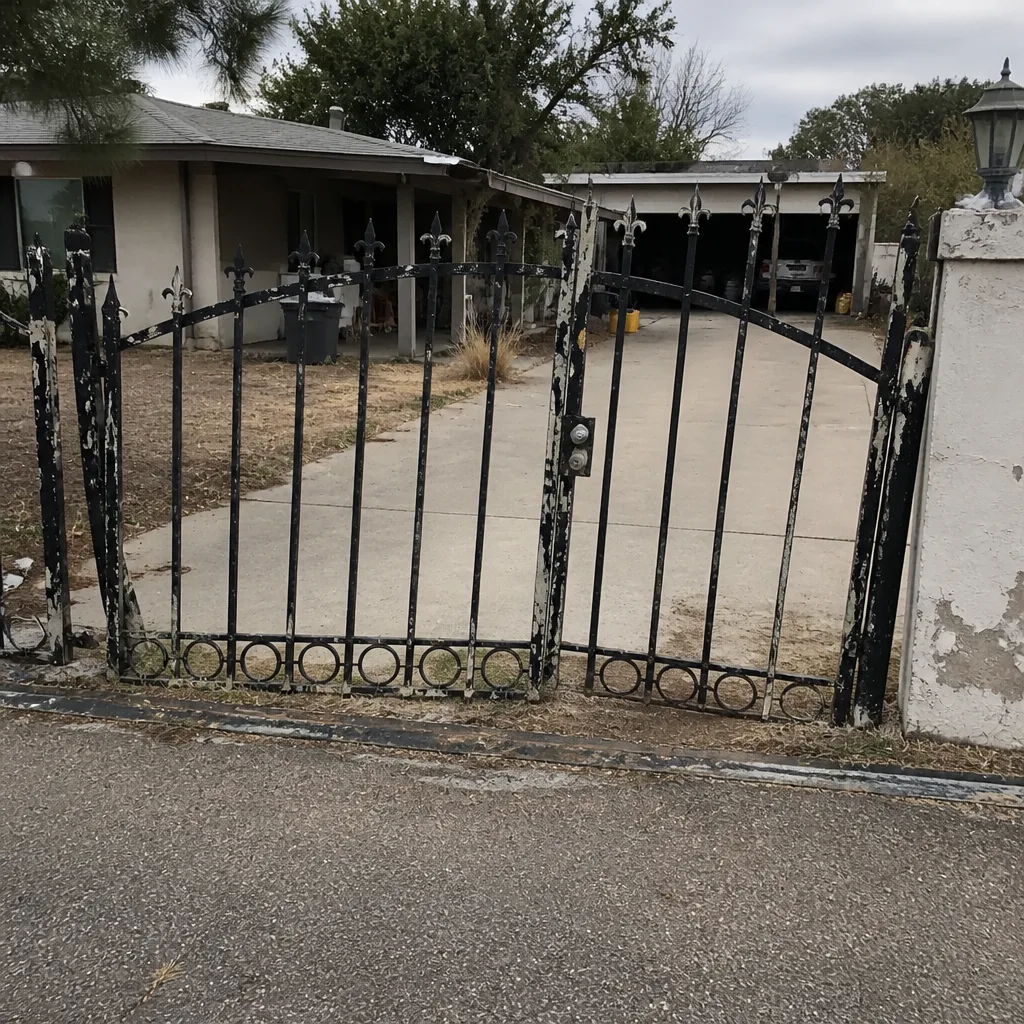 Before
 After
 Before
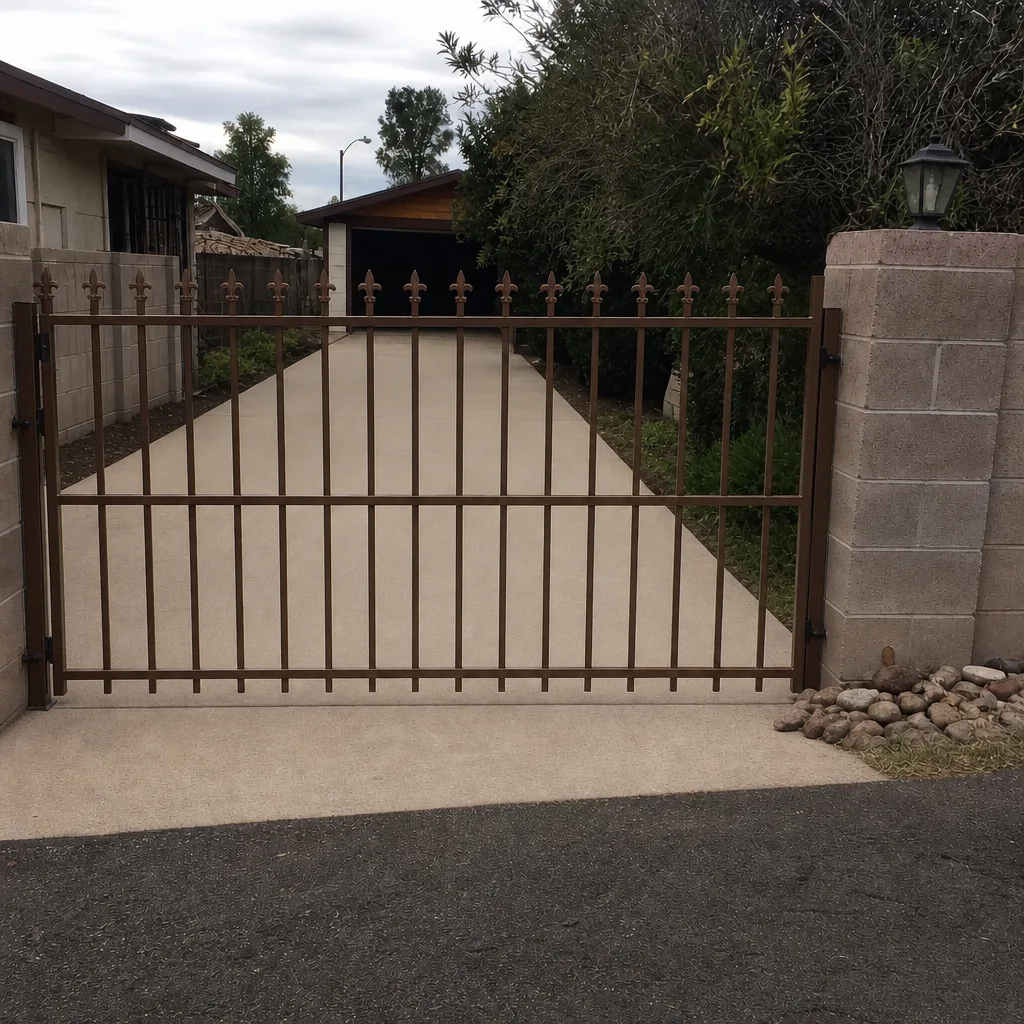 After
When to Call a Professional
Call a specialist when your gate stops responding predictably, reverses on its own, stalls partway through travel, or makes a grinding noise it didn’t make last month. Any intermittent fault that repeats more than once should be diagnosed, since intermittent faults on gates rarely stay intermittent for long. Call immediately if the gate has come off its track, if the footing shows visible tilt or a gap, if the operator housing smells hot, or if the manual release won’t move freely. Also call if your photo eyes are still causing faults after cleaning and realignment, or if your HOA entrance keypad or intercom is failing. Peoria homeowners and property managers can reach a gate specialist directly. Gate Repair Peoria offers free estimates in Peoria. Call (855) 574-0402. We answer 24/7. Fast dispatch from 7am to 7pm, Sunday through Friday.
Frequently Asked Questions
Do the monthly sensor check every month, the heavy lubrication and inspection in February through April, the pre-monsoon checklist in May and June, and the post-summer brush, battery, and insulation checks in October and November. A busy HOA gate should get the monthly tasks weekly, since it cycles many times more than a residential gate. On top of that regular schedule, call a specialist for any task you’re not confident handling, especially anything electrical.
The most common cause is a dirty or misaligned entrapment sensor. When the photo eye lens is coated with dust or the beam angle has shifted with heat, the control board reads it as an obstruction and refuses to close. The next most common causes are a weak backup battery under sustained heat and motor brushes that have worn past spec. Cleaning the sensors and testing them under load catches most summer failures before they happen. If the fault keeps returning after cleaning, call (855) 574-0402 for a diagnosis.
Use a high-temperature lithium complex or synthetic grease on hinges, pivots, and rollers, and a dry-film PTFE or silicone spray on the track and guides where dust is a problem. Standard white lithium grease breaks down at the temperatures metal reaches here. Wipe off old grease and grit before applying new. Never grease a hot surface in the middle of summer; wait for the cool part of the day.
Cleaning sensors, checking the manual release, watching for footing shift, and wiping the housing are all safe for a homeowner. Control board work, limit switch adjustment, motor brushes, footing repair, and anything on the line-voltage side are technician work. The line-voltage wiring coming from the panel is a serious electrical hazard, and a heavy swing or slide gate is dangerous if it’s running badly. Call (855) 574-0402 for anything beyond the surface checks.
Local soil can shift after a heavy monsoon rain or after a long dry stretch that shrinks the ground. When the footing loses support on one side, the post leans, the gate binds, and the operator starts straining. Surface signs include a gap around the post base, cracks radiating out from the base, a latch point that no longer lines up, and a gate that leans in one direction but not the other. If you see two or more of these, stop operating the gate and have it inspected.
Yes. A backup battery holds charge differently in summer heat, and a battery that runs the gate for many cycles in spring may only manage a few by fall. Test it by cutting power to the operator and confirming the gate opens correctly. If it doesn’t, the battery needs replacing before the next outage. Test it each October so you’re not discovering a weak battery in the middle of a storm. Call (855) 574-0402 if you’d like a technician to handle the battery test and the rest of the post-summer checklist.
The Bottom Line
The gate maintenance checklist that actually prevents breakdowns in Peoria isn’t a national four-season template. It’s a climate calendar built around the pre-monsoon weeks, the sustained heat stretch, and the cool months when you can grease and inspect without fighting the sun. Monthly sensor checks earn the highest return; post-summer brush, battery, and insulation checks catch the quiet damage; and regular footing observations stop expensive structural repairs before they start. If you’d rather hand the whole schedule to a gate specialist, Gate Repair Peoria handles gate repair, electric gate systems, and installations. Our technicians have up to 11 years of experience. Call (855) 574-0402 for a free estimate. We answer 24/7. Fast dispatch from 7am to 7pm, Sunday through Friday.
Written by the team at Gate Repair Peoria.