
Last updated November 15, 2026
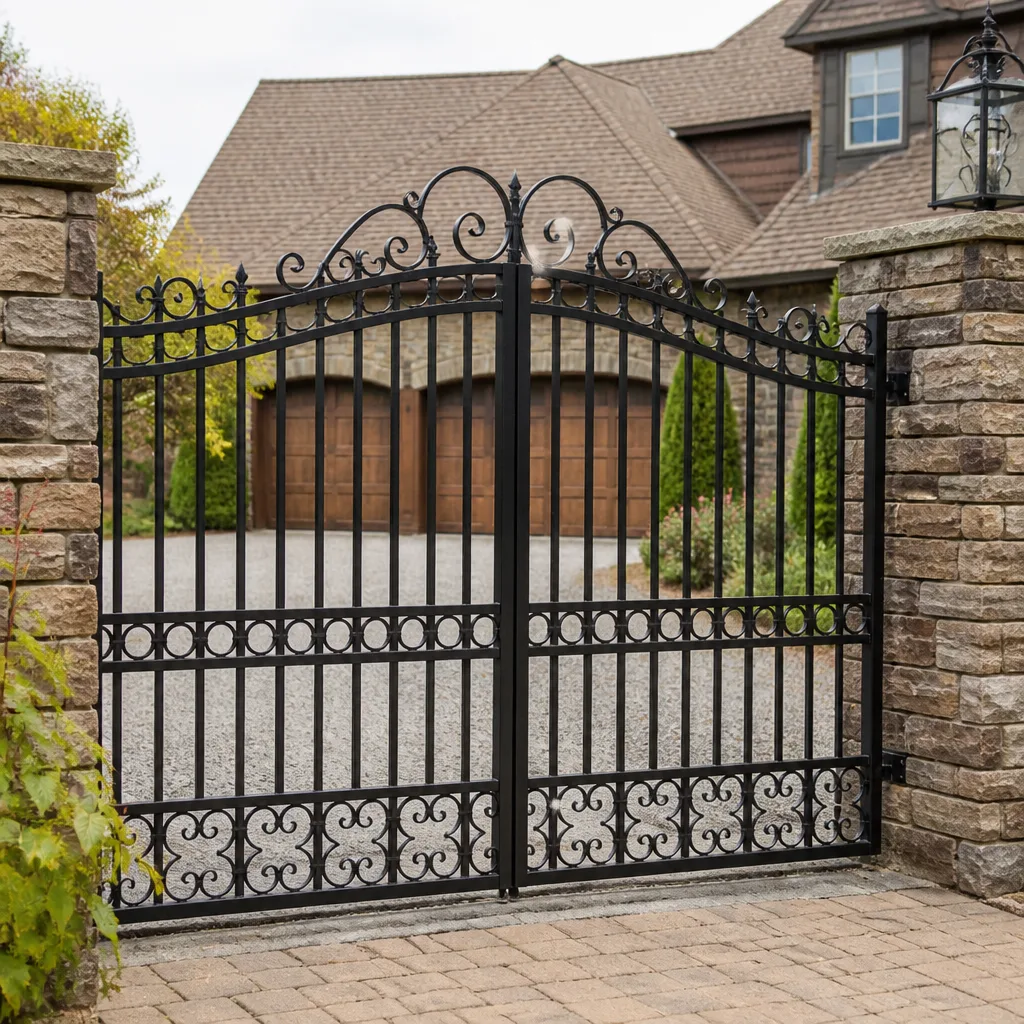 Wrought iron
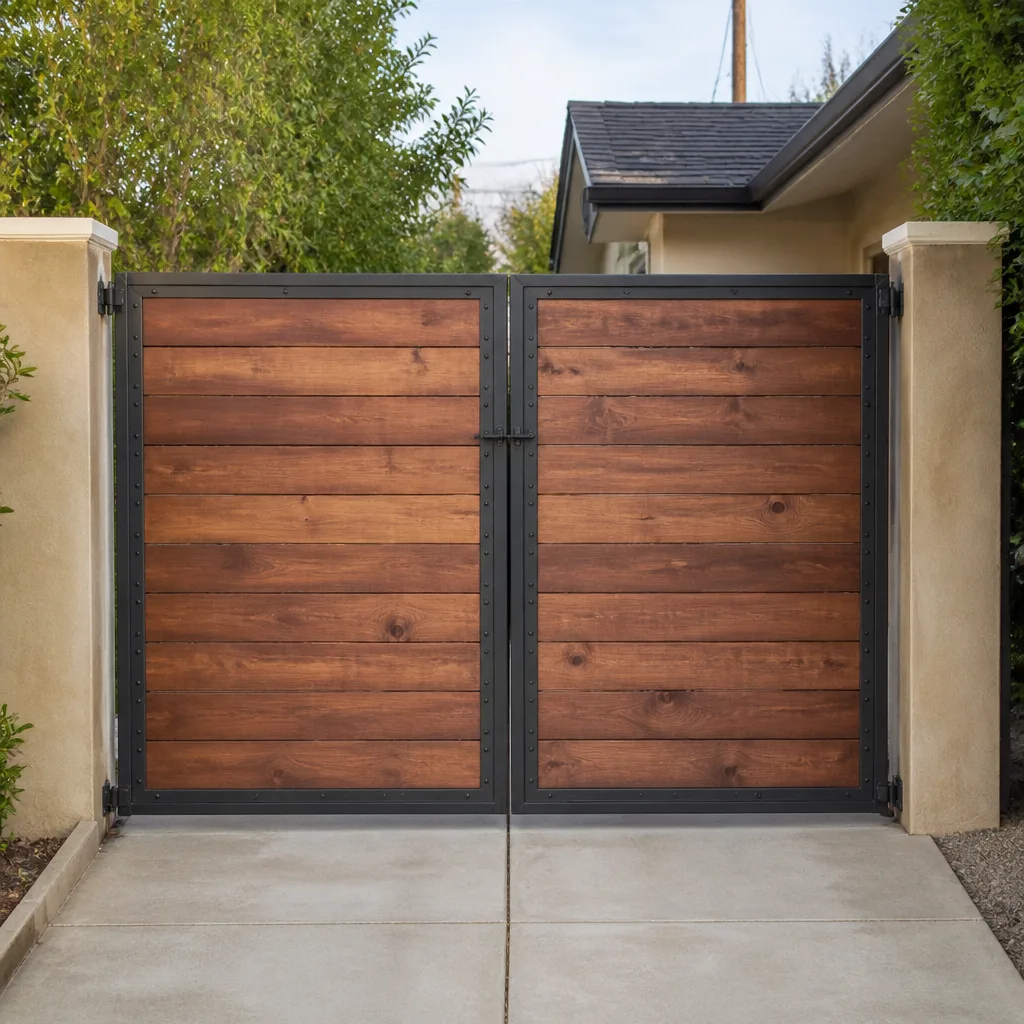 Wood & steel frame
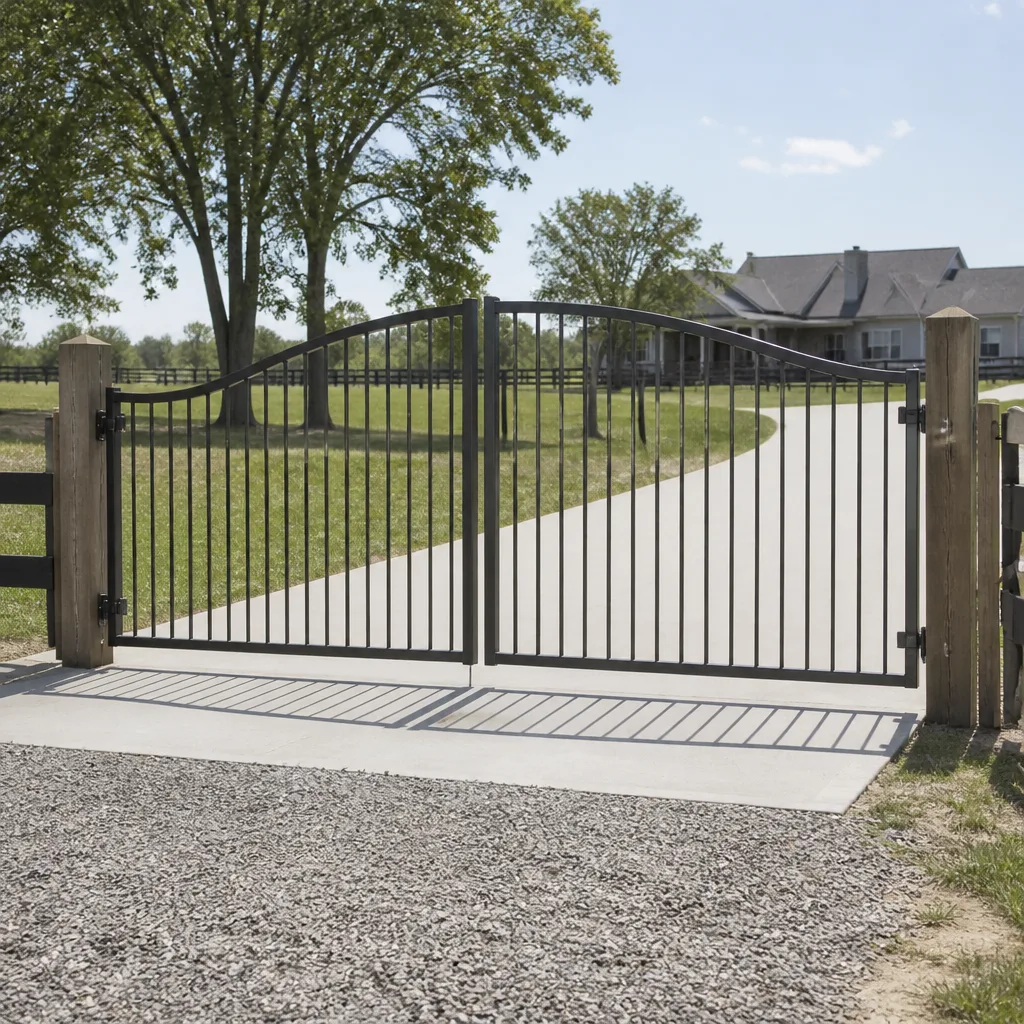 Farm & ranch
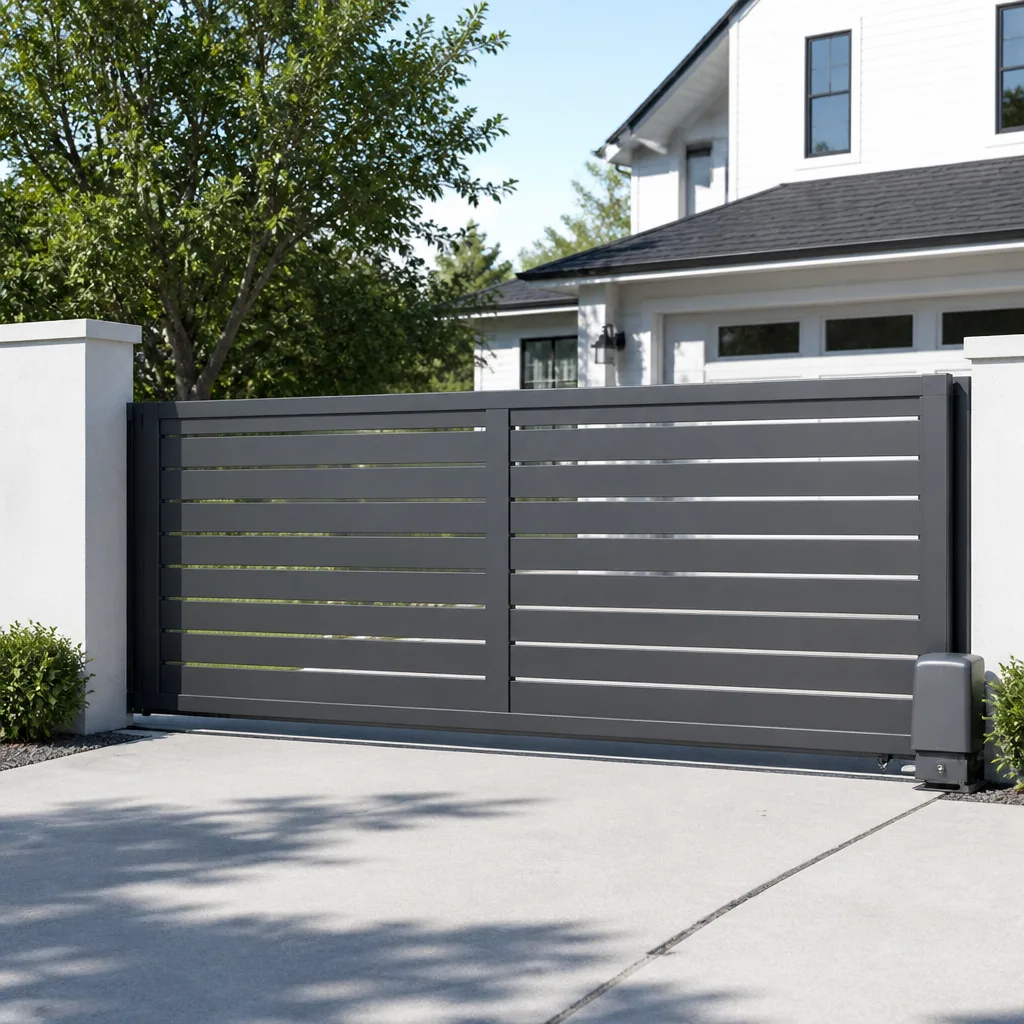 Sliding driveway gates
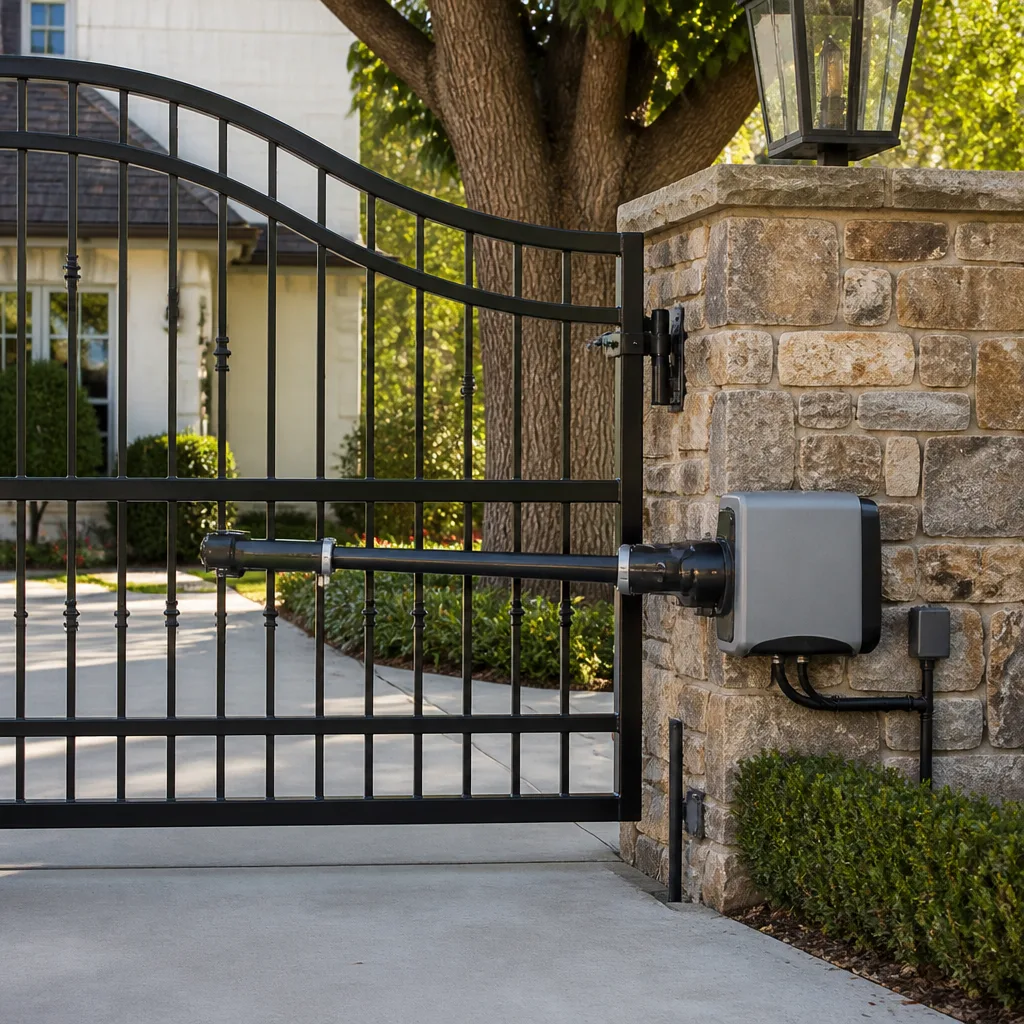 LiftMaster operators
Free on-site gate assessment - hinges, posts, and your LiftMaster or Nice gate operator checked before anything is quoted
The assessment is free and the quote is the invoice.
Get your free estimateGate Repair Troubleshooting in Peoria: Common Problems and How to Fix Them
Most people assume a gate that won’t open has one obvious cause. It usually has two or three working together, and the visible symptom points at the wrong one. A gate that won’t respond looks identical whether the battery backup died, the control board failed, or a safety loop is buried under a wash of gravel. The symptom is the same; the fix and the cost are not. What separates a five-minute diagnosis from three weeks of guesswork is knowing which failure category you’re in before anyone touches a tool. This guide walks Peoria homeowners and property managers through a real diagnostic sequence, in the right order, so you understand what’s broken and can describe it accurately.
Styles & brands we work with
- Wrought iron
- Wood & steel frame
- Farm & ranch
- Sliding driveway gates
- LiftMaster operators
Quick Answer
Gate troubleshooting starts with the power supply, moves to the signal path, then to the motor, the mechanical hardware, and finally obstruction and safety devices. Work that order and you’ll identify most failures before spending a dime. Most non-working automatic gates in Peoria trace to one of five things: a tripped breaker or dead battery backup, a control board fault, a motor capacitor cooked by summer heat, worn hinges or rollers, or a safety loop or photo-eye that’s stuck open.
Table of Contents
- Why the Diagnostic Order Matters
- Step 1: Check the Power Supply First
- Step 2: Trace the Signal, Not the Symptom
- Step 3: Evaluate the Motor and Operator
- Step 4: Inspect the Mechanical Hardware
- Step 5: Rule Out Obstruction and Safety Devices
- Dead Battery or Dead Control Board? How to Tell
- The Hardware Failure Points That Differ by Gate Type
- What to Photograph Before You Call
- Common Mistakes to Avoid
- When to Call a Professional
- Frequently Asked Questions
- The Bottom Line
Why the Diagnostic Order Matters
Gates fail in layers. A motorized gate has a power source, a control board, an operator with a motor, a mechanical linkage to the gate leaf, and a set of safety sensors watching for obstacles. Any one of those can fail, and several symptoms overlap between layers. That overlap is exactly where troubleshooting goes wrong. Replace a motor when the real fault is a $2 fuse on the control board and you’ve spent money solving nothing.
The sequence that works is fixed: power, then signal, then motor, then mechanical, then obstruction. You move down the chain only when the layer above it checks out. Each step rules out a whole category of failure so the next step is a genuine narrowing, not a guess.
Peoria adds its own pressure to this. Afternoon heat pushes past 110°F and rarely lets up overnight. That heat stresses the electrical components of any outdoor operator and accelerates wear on hardware that’s already near end of life. LiftMaster and DoorKing operators hold up well in this climate, but no board and no capacitor lasts forever under that kind of thermal load. Knowing which layer is stressed before you call saves everyone time. Our technicians have up to 11 years of experience working through exactly this sequence on gates across Peoria, and the order rarely changes.
For a full breakdown of what each repair type involves, see our gate repair overview. For now, work the steps in order.
Step 1: Check the Power Supply First
Before you troubleshoot anything electronic, confirm the gate is actually receiving power. This sounds obvious, and it’s the single most skipped step. A tripped breaker, a pulled disconnect, or a dead battery backup all present identically: the gate sits there, unmoving, and the operator seems lifeless. Start at the source.
- Check the breaker at your panel. Look for a tripped gate circuit. If it’s tripped, reset it once and watch what happens. If it trips again immediately, stop and call a professional, because a repeat trip points at a short, not a simple reset.
- Inspect the outdoor disconnect. Many automatic gate installs include a service disconnect near the operator. Confirm it’s switched on.
- Test the battery backup indicator. Many operators, including common LiftMaster models, show a battery status light on the control board enclosure. A red or absent light with the gate unresponsive points at a drained battery rather than a dead system.
- Listen for any audible hum or click. A faint hum with no movement can mean the board is alive but the motor isn’t receiving a command. Total silence points upstream.
If power is confirmed at every point, move to the signal step. If it isn’t, you’ve found your starting failure. A dead battery backup and a failed control board have one facial difference worth learning, which we cover further down.
Older gates and gates on long private driveways in Peoria are the most likely candidates for undervoltage problems because runs are long and voltage fluctuates. If the gate works better on cool mornings than hot afternoons, low voltage under heat is a strong suspect.
Step 2: Trace the Signal, Not the Symptom
“The opener won’t respond” doesn’t mean the opener is broken. It means the signal from your remote, keypad, intercom, or loop detector isn’t reaching the board. There are several forms of signal on a modern gate, and a fault in any one of them mimics an operator failure.
- Remote and transmitter: Test a second remote if you have one. If both remotes fail but the board-mounted manual open/close switch works, the fault is in the receiver or remote programming, not the operator.
- Keypad entry: A keypad that beeps but doesn’t open points at a wiring or logic issue between the keypad and board, not a dead motor.
- Loop detector: Exit loops and safety loops use wire buried in the driveway. In Peoria, a heavily graveled or spalled driveway section can bury and damage a loop wire, leaving the board permanently convinced a vehicle is or isn’t there. If the gate opens and then immediately reverses, suspect the loop before the motor.
- Intercom and access hardware: A whole-call access gate with an intercom and house entry button has multiple signal paths. If voice works but the door release doesn’t, the fault is in the release wiring, not the motor.
A quick test: use the manual command button on the control board itself. If the gate moves on a direct board command, the operator and hardware are fine and the failure is in the signal chain. That single test can eliminate half of a technician’s usual diagnostic work. If the gate won’t move on a direct command either, continue to the motor step.
Gate Repair Peoria handles electric gate repair across nine brands, so technicians are used to tracing signal issues on mismatched systems where the remote, board, and operator aren’t the same age or make.
Step 3: Evaluate the Motor and Operator
Once you’ve confirmed power and signal, the motor and operator are next. The most common motor-related failure in this climate is a worn capacitor, and the reason is thermal. Capacitors age faster at high temperatures, and Peoria summers accelerate that wear. A failing capacitor often produces the same symptom as a seized motor: the gate hums but doesn’t move, or moves in fits and starts.
What you can observe without opening anything electrical:
- Does the motor hum for several seconds before stopping? That’s a strong capacitor or start-winding symptom.
- Does the gate move a few inches and stop as if struggling?
- Is the thermal overload light on the control board lit? On many operators, this means the board temporarily shut the operator down because the motor or board is too hot. That’s the thermal shutoff cutting in during a hot afternoon, and it’s a sign of a component that’s starting to fail rather than a permanently dead system.
Do not open the operator housing or touch the board or motor internals yourself. Gate operators run line voltage and store current; a technician with a meter should do this step. What you’re doing here is documenting, not disassembling. Replacing a capacitor or a board is fast work for a trained hand and dangerous for anyone else.
The good news: thermal shutdown and capacitor issues are the most commonly repaired electric gate failures in Peoria, and they’re typically resolved with a component replacement rather than a full operator swap. If the operator is over ten years old and failing a second time, replacement becomes a more sensible conversation, and that’s where we cover the full picture on our Gate Repair Peoria page.
Step 4: Inspect the Mechanical Hardware
A perfectly working motor will not move a gate with failed hardware. This step is visual and physical, and no tools beyond your eyes and hands are needed. What you’re looking for depends on the gate type, and the failure points differ between swing and slide gates, so we cover both below.
For swing gates, check the hinge side first. Hinge sag is the classic failure: the gate sags, drags on the ground, and the operator has to overcome more friction than it was designed for. Look at the gap at the top and bottom of the hinge post. A gate that literally won’t close without lifting means the operator is doing the work the hinge should be doing.
For slide gates, check the rollers and the track. Worn rollers, a bent track, or a rack gear with missing teeth will all stall the operator or cause erratic movement. Wipe the rack clean and run your hand along the teeth; missing or flattened teeth are easy to feel.
On either gate type, inspect:
- Loose anchor bolts at the post or pad
- Tire or roller wear on the bottom sweep
- Rust or bent tracks on slide gates
- Bent gate leaves, which on a double swing gate often indicate a previous impact
The hardware step is where the operator swap temptation is highest. Fix the hinge or the roller before replacing the motor. Nine times in ten, the hardware is the actual failure and the operator is just the messenger.
Step 5: Rule Out Obstruction and Safety Devices
The last step in the sequence is the most misunderstood. Safety devices are designed to prevent the gate closing on a person, a vehicle, or a pet. When a photo-eye or loop detector fails, the gate behaves as if it’s permanently obstructed, refusing to close or reversing open. From the outside, that looks exactly like a broken gate.
- Check the photo-eye lenses. Dirt, spider webs, or a knocked-askew mounting bracket will block the beam. Wipe both lenses and check that they align.
- Walk the travel path. A branch, child’s toy, or trash can near the drive path will trip the obstruction sensor. Clear the leaf path and retest.
- Look at the safety loop indicator. Many control boards include a loop status LED. A lit loop indicator with no vehicle present means the loop is stuck in detection mode, which keeps the gate open.
- Test the manual reverse. Press the button that reverses the gate while it’s closing. If it doesn’t reverse, the safety circuit itself has a fault, not an obstruction.
If the gate reverses at the midpoint of travel every time and the path is clear, the loop or a photo-eye is the culprit. That’s a common pattern on older commercial access gates in Peoria, where loop wire has aged under the driveway surface and the board reads a permanent signal. Do not cut or move loop wires yourself; keep that work for a trained technician and let the board tell you what it’s reading.
Dead Battery or Dead Control Board? How to Tell
This is the most valuable distinction in gate troubleshooting, because the two failures look identical and cost very different amounts to fix. Both produce a gate with no response, no lights, and no movement. The difference is where the silence comes from.
A dead battery backup means the gate can’t open during a power outage or a return-to-open cycle. Many operators, including LiftMaster and DoorKing units, use a battery backup so the gate still works when utility power is lost. If your gate works fine while the breaker is on but won’t open when the breaker is off or during a storm outage, the battery backup is your failure.
A dead control board means the operator itself doesn’t respond to commands. Indicators: the board’s status LEDs are dark even with confirmed power at the terminals, the manual command button doesn’t move the gate despite a good battery, and no LEDs or digits light up. That’s board failure.
How to tell them apart in two minutes:
- Battery test: Flip the breaker off briefly. If the gate now fails to open at all, the battery is dead but the board is fine.
- Board test: With power confirmed, check for board indicator lights. No lights with confirmed input power points at board failure, regardless of battery condition.
Board replacement is a bigger job than battery swap, and diagnostic work here is best left to a technician with a meter. If your gate passes the battery test but still won’t respond, that’s your signal to stop troubleshooting and get a quote. For a free estimate in Peoria, call (855) 574-0402 and we’ll pick up the rest of the sequence from your findings.
The Hardware Failure Points That Differ by Gate Type
Swing gates and slide gates fail differently, and knowing which you have narrows the diagnosis before you’ve touched anything. Here are the specific failure points to inspect for each.
Swing Gate Failures
- Hinge sag: The top hinge pulls and the gate drops, causing drag and operator stress. This is the most common swing gate hardware failure.
- Hinge pin wear: A loose pin makes the gate wobble and worsens sag over time.
- Gate leaf misalignment: The two leaves of a double gate no longer meet, so the operator can’t latch or close cleanly.
- Operator arm or linkage damage: The arm that connects the operator to the gate bends or loses its bushing.
- Post anchor looseness: Loose post bolts let the whole gate move, defeating any adjustment.
Slide Gate Failures
- Roller wear: Rollers flatten and the gate drags on the track, stalling the operator.
- Rack gear damage: Missing or worn teeth on the gear rack cause grinding, slipping, or refusal to move the gate the full length of travel.
- Track misalignment: A bent or out-of-line track derails the gate or jams it mid-travel.
- Chain or belt wear on chain-driven slide gates, which affects timing and force settings.
- Bed debris: Gravel or dirt works its way into the track bed and causes grinding. This is common on gravel-adjacent drives around Peoria.
If you’re unsure which failure you’re looking at, describe what you see to a technician. Accurate description cuts diagnostic time. Our Peoria service page covers the local picture, and our team works these exact failure points on both gate types daily. We’ll tell you what’s hardware and what’s operator, so you aren’t sold parts you don’t need.
What to Photograph Before You Call
This step is where a homeowner saves real money, because accurate description cuts diagnostic time sharply. A technician who arrives with a model number and error code is working from a precise starting point. A technician who arrives to a blank slate spends the first chunk of every visit redoing the sequence you can do yourself in five minutes. Photograph and write down these before you call:
- The operator model and serial number. The label is usually inside or under the operator housing. Get it in a photo. “It’s a black box” tells us nothing; a model number tells us everything.
- Any error code shown on the board or display. Snap a picture of the LED pattern or the digital readout. Error codes are brand-specific, so the code is worth more than a description.
- The gate type, dimensions, and path. Photo the full gate, then the leaf path with the ground visible.
- All LEDs on the control board. A straight-on photo of the board’s indicator lights tells a technician exactly which signal has failed.
- When the failure first appeared. Note the day, the weather, and whether the gate failed at open, at close, or mid-travel. A gate that fails at the same point in travel every time is telling you a specific story.
- The hardware condition. Photo the hinges or rollers, the top and bottom hinge gaps, and any obvious damage.
A short video of the gate in motion, or trying to move, is worth a dozen photos. We can often identify the failure category from a 20-second clip, and that lets us bring part numbers and ask a smarter set of questions before anyone arrives.
Common Mistakes to Avoid
- Replacing the motor first. Operators are the most expensive part of the system and the least likely to be the actual failure. Check power, signal, and hardware before you ever price a motor.
- Ignoring the hinge until the gate won’t move. Hinge sag and roller wear are easy to spot early and cheap to fix. Let them run and the operator eats the strain and eventually fails too. In Peoria’s heat, hardware wear compounds faster than in cooler climates.
- Cutting or moving loop wires yourself. Loop detectors are buried and wired to the board. Cutting one in the driveway is a much bigger repair than tightening photo-eye screws.
- Using a remote as the only test. A second remote or a manual board command button is the cheap test that proves whether your remote or your operator is failing. Skipping it sends technicians to the wrong place.
- Confusing a dead battery with a dead board. This is the single costliest mix-up in gate repair. The breaker test above settles it in two minutes.
- Calling without the model number. Brand and model dictate the part and the procedure. Arriving without them means a second visit, which costs more time and more money.
- Pushing a heavy gate manually to “test” it. Large swing and slide leaves can crush hands and injure spines, and a gate with failed safety devices can close unexpectedly. Don’t force a heavy gate by hand when its hardware or safety devices may be compromised.
When to Call a Professional
Some failures are safe to describe and unsafe to touch. If you’ve confirmed the breaker is reset and the transformer is powered and the gate still won’t move, that’s a board or motor failure and it’s the point to call. If the gate is heavy enough to crush, or if it moves unofficially while you’re near it, that’s a same-day call. Wiring and power at the operator, control boards, loop detectors, and any work near the operator housing are professional territory. The gate’s safety edges and obstruction sensors are also a case for a specialist; bypassing them to force the gate closed is dangerous work, not a repair. Call Gate Repair Peoria for a free estimate in Peoria at (855) 574-0402. We answer 24/7. Fast dispatch from 7am to 7pm, Sunday through Friday. Our technicians have up to 11 years of experience across nine gate and access-control brands, and they’ll tell you what’s failing and what the fix costs before any work starts.
Frequently Asked Questions
Summer heat triggers thermal shutdown on many operators because the control board or motor overheat protection cuts power. If the gate fails on the hottest afternoons but works on cooler mornings, that’s the likely reason. A capacitor starting to fail is the other common heat-driven cause. Call (855) 574-0402 for an exact quote, because a capacitor or board replacement is usually quick work, and estimates are free.
Turn the power off briefly. If the gate won’t open with the breaker off, the battery backup is your failure. If it still won’t respond with power on at the board terminals and the board lights are dark, the control board is failing. Our technicians can confirm in one visit, and a free estimate costs you nothing, so call us to sort it out.
A gate that opens but won’t close is almost always reading a permanent obstruction through a safety loop or photo-eye. The motor is working; the safety circuit thinks something is in the way. Wipe the photo-eye lenses and clear the path first. If it still won’t close, stop and call a professional rather than bypassing the safety device. Call (855) 574-0402 for a free estimate.
Yes for simple things like cleaning photo-eye lenses, clearing debris, and identifying the model number. No for anything inside the operator housing, on the wiring, or involving a heavy gate leaf. Line voltage and stored capacitors make operator internals dangerous, and heavy panels can crush. Call (855) 574-0402 and let a technician handle the electrical side.
Estimates are free and the price is set per job by the written estimate, so the number depends on what’s failing. A hinge or roller repair is very different from a board or motor replacement. We quote and agree the price before any work starts, so there’s no invoice surprise. Call (855) 574-0402 for an exact figure.
We service nine gate and access-control brands, including LiftMaster, DoorKing, Elite, and Mighty Mule. That breadth matters when a gate has been repaired before with a mismatched part. Whether it’s a LiftMaster operator or a Mighty Mule, we know it. Call (855) 574-0402 and we’ll confirm your brand on the phone.
The Bottom Line
Gate troubleshooting is a sequence, not a guess. Check power, then signal, then motor, then hardware, then obstruction, and you’re narrowing the failure with every step. Rule out the easy things before you pay for the complicated ones. Photograph the operator label, the board LEDs, and any error code, because that preparation cuts diagnostic time and your bill. If the gate is heavy, wired, or moving unpredictably, stop and let a technician take over. Gate Repair Peoria specializes exclusively in gates, works both manual and electric systems across nine brands, and would rather tell you the hinge is the problem than sell you a motor you don’t need. Call (855) 574-0402 for a free estimate. We answer 24/7. Fast dispatch from 7am to 7pm, Sunday through Friday.
Written by the team at Gate Repair Peoria.
See the difference
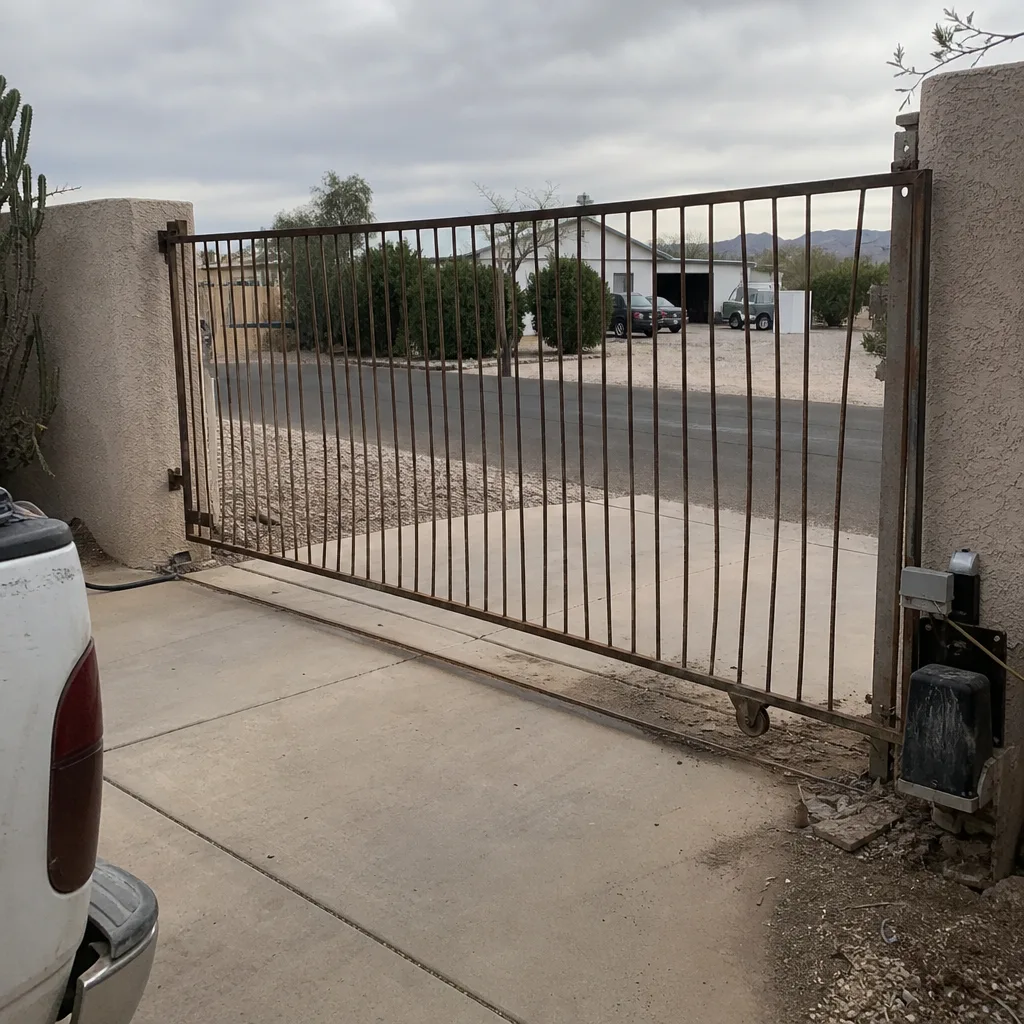 Before
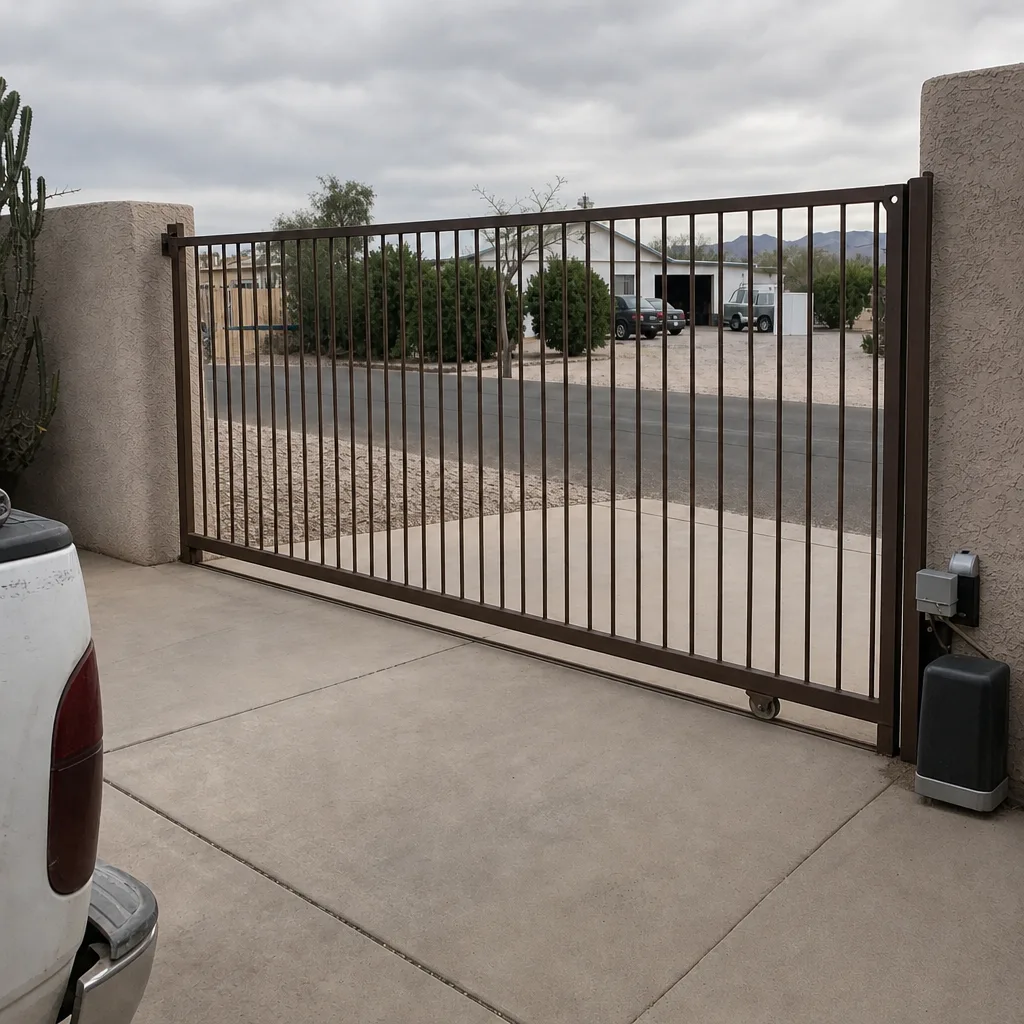 After
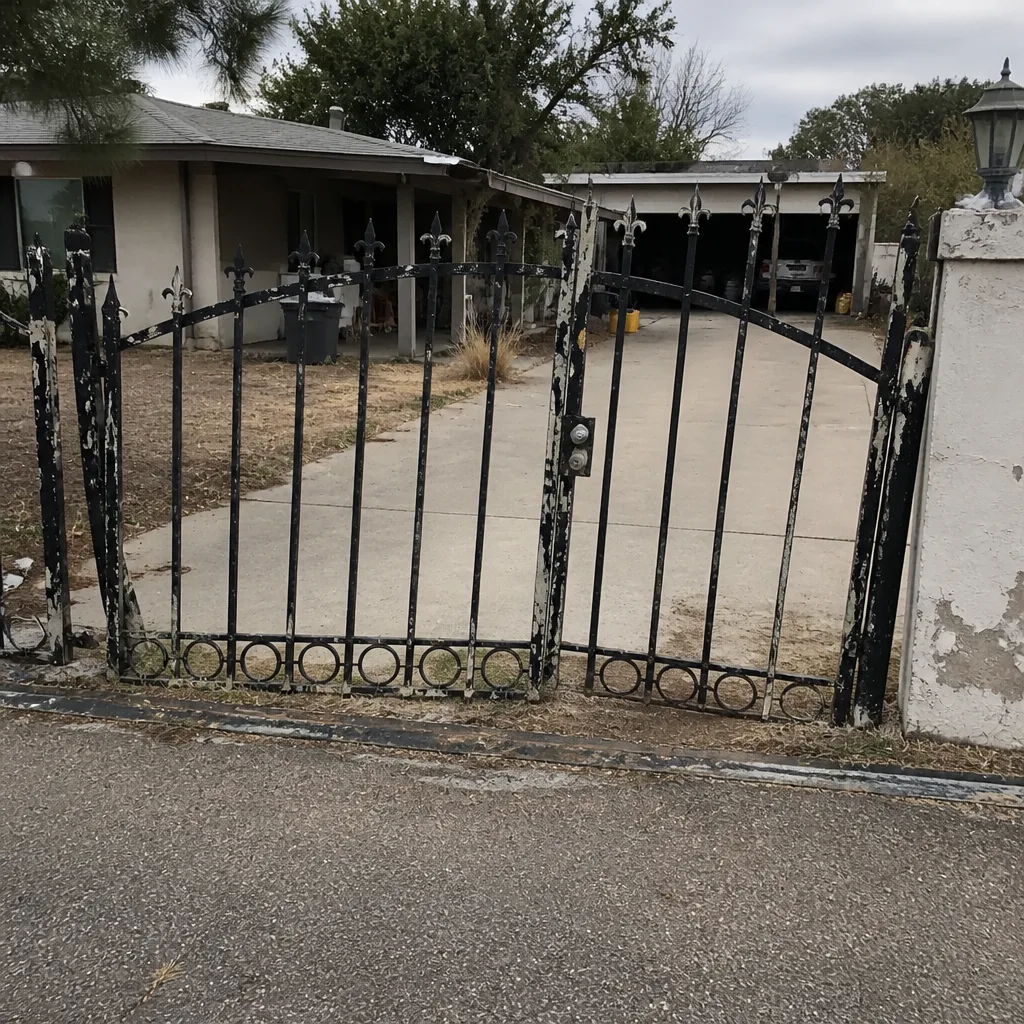 Before
 After
 Before
 After